Custom Apparel Design File Setup compared by sample evidence, fabric or trim specs, MOQ, AQL terms, cost lines, delivery timing, and rework responsibility.
Fast answer: Custom Apparel Design File Setup: Tech Pack, Sample Gate, MOQ, and QC Terms should be judged by production evidence, not by a generic sourcing promise. The buyer needs sample proof, cost breakdowns, QC checkpoints, and delivery buffers in writing.
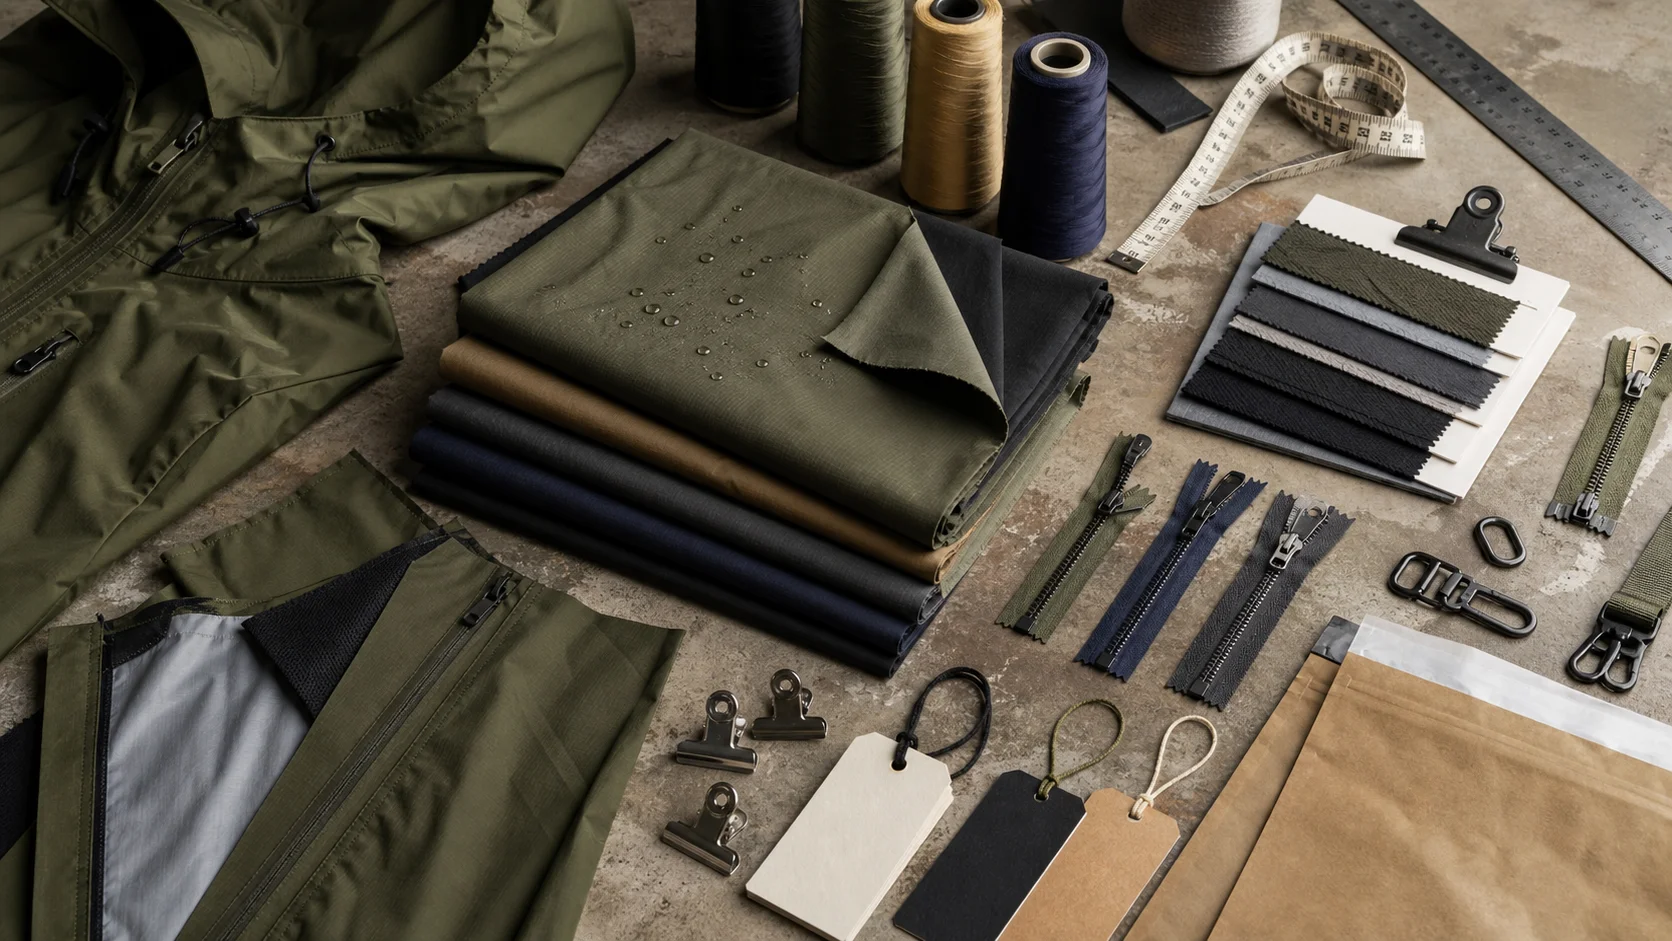
Ask for recent sample photos, measurement tolerances, fabric or print test assumptions, decoration test notes, packing examples, and a named inspection checkpoint. These details show whether the team can repeat an approved sample at bulk volume.
Separate garment cost, decoration, labels, packaging, sampling, testing, freight, and rush charges. Clear cost lines make it easier to reduce colorways, adjust size depth, or reserve more time for sampling.
Creating custom apparel is about more than having a great design concept. To turn that concept into production-ready clothing, your artwork files need to be set up correctly from the start. Whether you are developing branded t-shirts, hoodies, uniforms, or promotional garments, proper custom apparel design file setup can make the difference between a smooth production run and costly delays.
For brands, agencies, startups, and corporate buyers, print-ready artwork is the foundation of quality results. A well-prepared file helps ensure accurate colors, sharp edges, consistent scaling, and fewer revisions. In contrast, poorly prepared files can cause issues such as blurry prints, distorted logos, incorrect color matching, or rejected production files.
This guide explains how to prepare apparel design files for screen printing, embroidery, DTG printing, heat transfer, and other decoration methods. If you want your project to move efficiently from concept to finished product, understanding file setup is essential. For production support and manufacturing services, you can explore Fabrikn’s services page or learn more about the company on the about us page.
Custom apparel manufacturing depends on precision. Unlike digital graphics viewed on a screen, printed or embroidered artwork has to translate into a physical process using inks, thread, transfer films, or other materials. Every detail in the file influences how the final garment looks and performs.
Good file setup matters because it:
Many apparel projects fail at the file stage because clients send low-resolution images, web graphics, screenshots, or incomplete artwork. These may look acceptable on a computer monitor, but they are not suitable for production. A print-ready file gives the manufacturer exactly what is needed to start production with confidence.
The best file format depends on the decoration method and the type of artwork. In general, vector files are preferred for logos, typography, and clean graphics because they can scale without losing quality. Raster files are acceptable for photographic artwork or highly detailed illustrations, but they must be high resolution.
Vector artwork is built from paths, shapes, and mathematical curves rather than pixels. This means it can be resized for a left chest logo or a large back print without becoming blurry. Vector files are the most common choice for custom apparel design file setup, especially for logos and simple brand graphics.
Raster images are pixel-based. They are suitable for detailed artwork, gradients, textures, and photographs, but they must be saved at the correct resolution for the intended print size. Low-quality JPG files, especially those downloaded from websites or social media, are usually not acceptable for production.
Whenever possible, provide both a vector file and a flattened preview image. The vector file is used for production, while the preview helps the manufacturer confirm layout, placement, and color intent. If your logo exists only as a JPG or screenshot, it should be recreated as vector artwork before production begins.
Artwork must be prepared at the correct dimensions and resolution for the print method being used. Even a strong design can fail if the file is too small, has the wrong color mode, or is scaled incorrectly.
If your design includes photographs or complex illustrations, 300 DPI is generally the standard for crisp printing. Anything lower may appear pixelated, especially on larger garments such as hoodies or oversized tees.
Set your file to the actual print size whenever possible. For example, if you want a front chest graphic at 12 inches wide, the artwork should be prepared at that width. This reduces errors and helps the production team understand the intended scale. If you are unsure about sizing, ask your manufacturer for garment-specific print dimensions.
Screen displays use RGB, but apparel production often requires CMYK, Pantone, or custom spot colors. RGB files may look vibrant on screen but convert unpredictably in print. If brand accuracy matters, define the colors clearly and confirm them with your production partner.
Even simple monochrome graphics should be set up correctly. Pure black may print differently depending on the method, fabric, and ink. If you need rich black, discuss it with the manufacturer before finalizing the file.
Proper artwork preparation can prevent most production problems. The goal is to deliver a clean, usable file that requires little or no editing before printing or embroidery.
If possible, begin with the original design file from Adobe Illustrator, Photoshop, or similar professional software. Editable source files make it easier to adjust colors, isolate layers, or modify elements as needed for production.
When sending vector artwork, convert all text to outlines or curves. This prevents font substitution if the manufacturer does not have your typeface installed. Outlining text also locks the design so it appears exactly as intended.
Some print workflows cannot interpret live effects, brushes, or thin strokes correctly. Expand strokes, flatten transparency if needed, and make sure all special effects are preserved in the final exported file.
Clean your file before submitting it. Delete hidden objects, extra artboards, unused swatches, and stray points. A tidy file reduces confusion and makes production more efficient.
If your apparel project includes multiple print locations, such as front, back, sleeve, and neck label, organize each placement clearly. Name layers or artboards in a way that shows exactly where each design should go.
For raster artwork, zoom in to 100 percent and inspect the edges, textures, and lettering. If the file looks fuzzy on screen, it will likely print poorly. Replace low-quality elements before final submission.
Keep a working file and a production file. One should remain editable, while the other should be flattened or exported in the format required by the manufacturer. This makes future revisions easier and protects your original design.
Many design issues can be avoided by understanding the most common mistakes in custom apparel design file setup. These errors are easy to make, especially when artwork is created for web use instead of production.
Another common issue is assuming that a logo designed for digital marketing will automatically work on apparel. Apparel decoration has different technical requirements. Fine lines, tiny text, gradients, and transparent edges may need adjustment before production.
If you are creating uniforms or retail apparel with strict brand standards, file accuracy becomes even more important. A small error in color or proportion may affect the appearance of the entire product line.
The ideal file setup depends on the decoration technique. Each method has specific strengths and limitations, so it is important to match the artwork to the process.
Screen printing works best with vector artwork, solid colors, and clearly separated color layers. It is ideal for bold logos, event shirts, uniforms, and large production runs.
DTG printing can handle detailed artwork, gradients, and photographic images, but the file still needs to be high quality. Use high-resolution raster images or well-prepared vectors.
Embroidery is not a direct print process, but it is still common in custom apparel. Artwork must be simplified so it can be translated into stitches.
Heat transfer and direct-to-film applications can support more detail than screen printing, but clean files are still important. High-resolution artwork and proper transparency control are essential.
Before sending your files to a manufacturer, use this checklist to make sure your custom apparel design file setup is ready for production.
If you are managing a large apparel program, it is smart to create a standardized file submission process for your team. That way, every design follows the same requirements and your production workflow remains consistent.
Not every company has an in-house production designer, and that is perfectly normal. If your team is unsure whether a file is print-ready, it is better to ask for guidance before submitting the order than to correct problems later.
A reliable clothing manufacturer can review your file and identify issues such as low resolution, improper file type, missing fonts, or color mismatches. This kind of support can save time and prevent waste, especially on large orders.
At Fabrikn, the goal is to make custom clothing production efficient and dependable. If you need help preparing artwork or want to discuss a custom project, visit the contact us page to get started. You can also learn more about our manufacturing approach and capabilities through our services page.
Custom apparel design file setup is one of the most important steps in the apparel production process. A great design is only effective if it is prepared in a format that can be manufactured accurately. By using the right file type, resolution, size, and color setup, you can avoid delays, reduce costs, and improve the quality of the final garment.
Whether you are creating branded merchandise, retail apparel, team uniforms, or promotional clothing, the same principle applies: print-ready artwork leads to better results. Taking the time to prepare your files correctly will help your project move smoothly from concept to completion.
Get a free quote from Fabrikn — your trusted B2B clothing manufacturer with 10+ years of experience. MOQ as low as 200 pieces.
Get a Free Quote →Custom apparel design file setup is the process of preparing artwork files so they are ready for printing, embroidery, or other garment decoration methods. It includes choosing the right file format, resolution, color mode, and layout.
Vector formats like AI, EPS, and PDF are usually best for logos and clean graphics. Raster formats like PSD or TIFF may be used for photographic or highly detailed artwork, provided the resolution is high enough.
For raster files, 300 DPI at the final print size is the standard recommendation. Lower-resolution images often become blurry or pixelated when printed on garments.
Sometimes, yes, but only if the file is high quality and suitable for the print method. JPGs downloaded from websites are often too low resolution. PNGs can work well if they are large enough and have clean edges.
Yes, for vector artwork it is best to convert text to outlines before submitting the file. This prevents font issues and ensures the design appears correctly during production.
A print-ready file is correctly formatted, high resolution, properly sized, and free of common issues like missing fonts, low-quality images, or incorrect color settings. If you are unsure, ask your manufacturer to review it before production.
Yes. If you need support with production-ready artwork or want to discuss a custom clothing project, you can reach out through the contact us page or review the company’s capabilities on the services page.