Custom T Shirt Design File Requirements with checks for samples, fit, MOQ, QC evidence, pricing terms, and delivery risk.
Buyer Fit Snapshot
Best fitcustom t shirt design file requirements for apparel buyers comparing samples, material specs, QC ownership, landed cost, lead time, and supplier risk where fit consistency, decoration durability, and delivery dates decide the vendor choice.
Files to prepareTech pack, size run, color list, artwork, label and packing notes, target quantity, inspection level, and required delivery window.
Sample gateApprove fabric handfeel, shrinkage, measurements, logo placement, wash result, packing method, and every change log before bulk cutting.
Quote riskLow unit prices can hide trim substitutions, rushed sampling, weak AQL rules, or unclear rework responsibility.
Fast answer: Custom T Shirt Design File Requirements: Fabric, Fit, Sampling, and QC should be judged by production evidence, not by a generic sourcing promise. The buyer needs sample proof, cost breakdowns, QC checkpoints, and delivery buffers in writing.
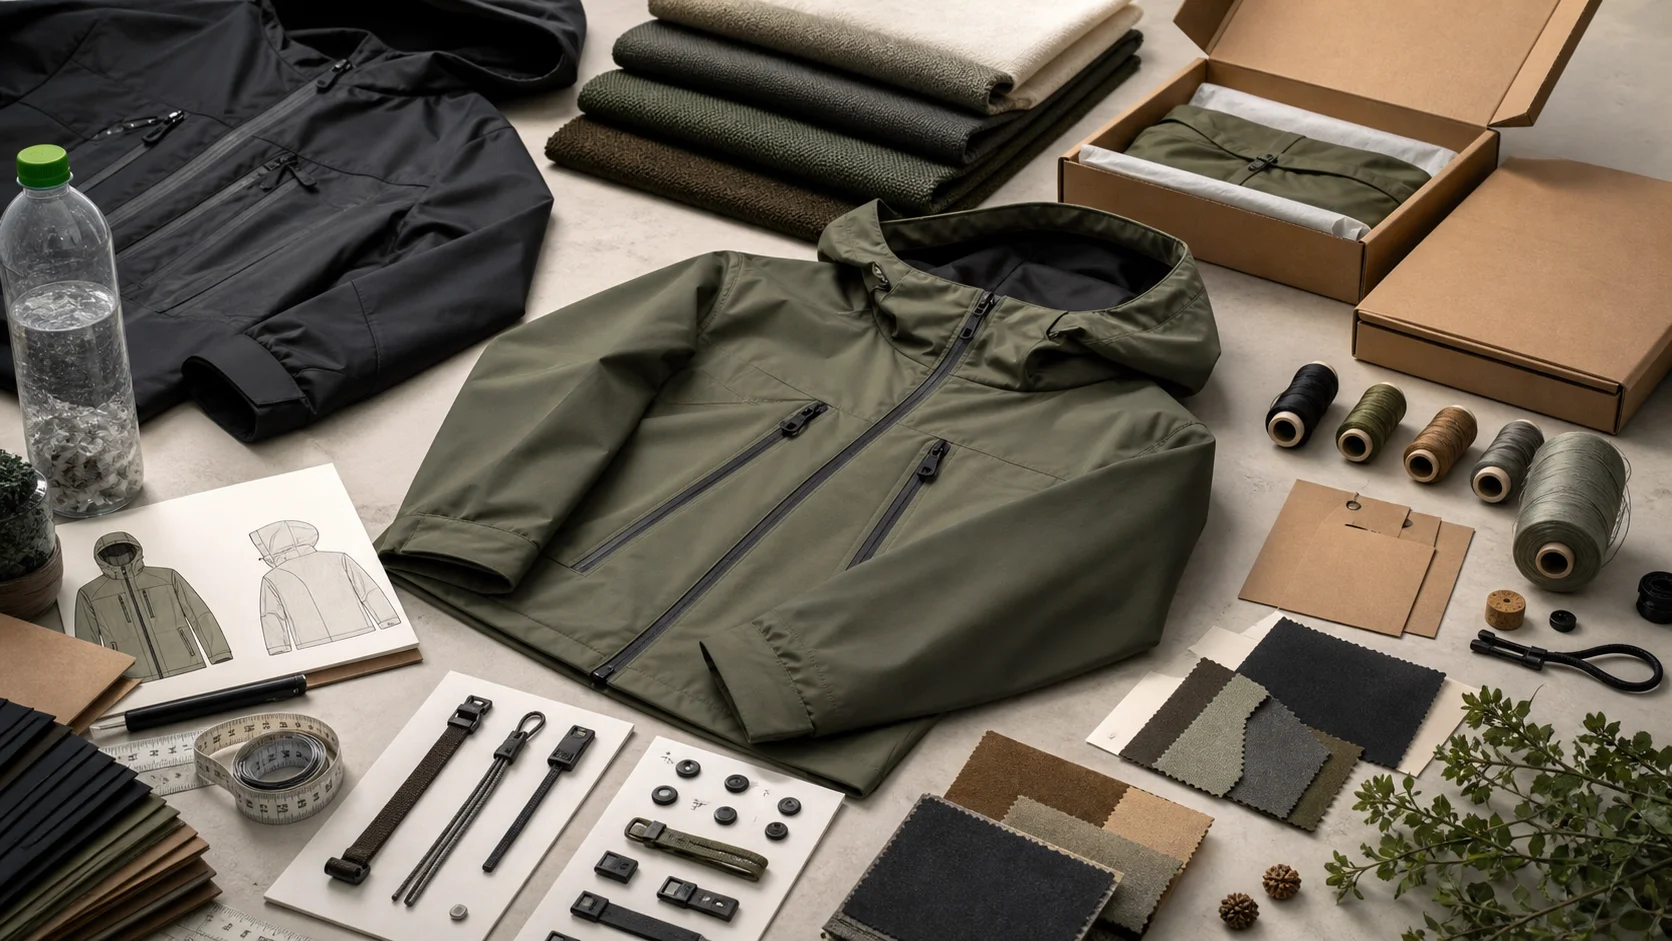
Production evidence to request before a deposit
Ask for recent sample photos, measurement tolerances, fabric or print test assumptions, decoration test notes, packing examples, and a named inspection checkpoint. These details show whether the team can repeat an approved sample at bulk volume.
How to make the quote easier to compare
Separate garment cost, decoration, labels, packaging, sampling, testing, freight, and rush charges. When every cost line is visible, it becomes easier to reduce colorways, adjust size depth, or reserve more time for sampling.
Table of Contents
Introduction to Custom T-Shirt Design File Requirements
In the realm of custom clothing, a single well-prepared artwork file can make the difference between a brilliantly printed run of custom t-shirts and a costly production delay. Whether you're a small business launching branded apparel or a large organization outfitting a team, ensuring your design files meet the exacting standards of a professional clothing manufacturer is essential. At Fabrikn, we specialize in bringing custom clothing visions to life, and that starts with understanding custom t shirt design file requirements inside and out.
From file formats and color profiles to resolution and artwork layout, every technical detail influences the final print quality. This guide walks you through every requirement, providing practical tips and professional insights tailored to help you deliver production-ready files that lead to stunning custom apparel. We also include how to submit your files through our streamlined workflows and how to avoid the most common mistakes we encounter daily.
By mastering these requirements, you can reduce back-and-forth communication, accelerate approval times, and ensure your custom t-shirts look exactly as imagined. to the specifics you need to know before sending your design to print.
Accepted File Types and Formats
The foundation of a reliable print is the file format you provide. Fabrikn supports a variety of formats commonly used for custom clothing design, but sticking to our recommended options ensures accuracy and color fidelity.
Here’s what we prefer:
- Vector formats: Adobe Illustrator files (.ai), Encapsulated PostScript (.eps), and scalable vector graphics (.svg) are ideal, especially for text, logos, and illustrations. These formats can scale infinitely without losing quality.
- High-resolution raster files: Photoshop PSD files, TIFF, or PNG (with a transparent background) are acceptable when your designs contain gradients, photos, or complex textures.
- Multi-layered files: Avoid flattening your artwork until the final stage. Layered files allow our production team to troubleshoot, adjust, or separate color elements in preparation for screen printing or DTG (direct-to-garment) applications.
When submitting files, please avoid compressed formats such as JPG or GIF unless absolutely necessary for digital mockups or proofs. JPG formats can introduce compression artifacts that reduce print quality and make color matching unreliable.
Optimal Resolution and Dimensions
Resolution is critical for sharp, professional prints. Low-res artwork appears pixelated, especially on large placements like full chest or back designs.
Guidelines for resolution include:
- Minimum 300 DPI (dots per inch): At the final print size. For example, if your design will measure 12 inches wide on the shirt, ensure your file is 3600 pixels wide (12 x 300).
- Actual print dimensions: Work in real-world measurements to maintain scale. Avoid resizing drastically after finishing your artwork.
- Bleed allowance: For edge-to-edge designs, account for a 0.125 to 0.25-inch bleed to prevent white edges during printing.
Always check your artboard or canvas size before exporting. Many design software programs default to screen resolutions, which are insufficient for high-quality printing. A high-resolution layout not only retains sharpness but also allows for more precise color separations during the printing process.
Color Profiles and Spot Colors
Color control is vital in custom clothing production. The way colors appear on your screen may differ from the printed version due to the difference between RGB (digital) and CMYK (print) color spaces.
- Use CMYK profiles: Designs destined for screen printing or DTG should be converted to CMYK. This conversion closely mirrors ink-based printing and reduces unexpected color shifts.
- Spot colors: For branded logos or limited color palettes, consider using Pantone Spot colors. Spot colors provide precise color matching, crucial for logos or corporate attire. Provide the exact Pantone values when possible.
- Color swatches: Keep swatches embedded within your file. Avoid using simulated rasterized clips or gradients without specifying spot color values, as this can cause inconsistencies between proof and print.
Our team can assist in converting files properly, but doing this yourself reduces revision time and ensures the first proof is near-perfect.
Artwork Specifications and Layouts
Every placement on a custom t-shirt has unique requirements. Whether you’re printing a small chest logo, a left sleeve graphic, or a full front/back wrap, follow clear layout practices to avoid surprises.
Key artwork specs to observe include:
- Safe zones: Maintain adequate padding around your design to prevent elements from being too close to seams, zippers, or folds. Safe zones vary depending on garment style, so review the specific placement guidelines for crewnecks, hoodies, or long sleeves.
- Single vs. multiple placements: Submit one file per placement, clearly labeled (e.g., “Front_Center_ChadDesign.ai”). This helps our production team allocate screens, separate colors, and estimate ink quantities efficiently.
- Consistent naming conventions: Clear file names help speed up the production process. Use descriptive names like “Back_Standard_TypeLogo_1450x1800” to avoid confusion during prepress handling.
Precise layout planning ensures your artwork appears exactly where intended, especially when working with multi-location prints or specialty cuts. If your design requires custom positioning, include a mockup with dimensions for reference.
Managing Transparency and Layers
Transparency can add depth to your designs, but it must be handled carefully before printing.
- Flatten transparencies only when necessary: Layered artwork with transparency should be preserved until prepress, where we can evaluate how it interacts with inks. Flattening too early can change the appearance and color blending.
- Use transparent PNGs for DTG: PNG files support transparency and are preferred for direct-to-garment prints where designs require soft edges or complex overlays.
- Avoid clipping mask artifacts: Ensure your transparency is clean and doesn’t contain ghosted edges or stray pixels. These artifacts can create unintended outlines during printing.
Clear communication regarding transparency ensures the final print maintains visual integrity without printing undesirable elements like hidden layers or unexpected backgrounds.
Vector vs. Raster Artwork
Understanding the difference between vector and raster artwork is pivotal when designing for custom clothing.
- Vectors: Use vector files for logos, typography, and line art. Vectors are mathematically scalable, allowing for perfect reproduction on any size of garment without pixelation.
- Raster: Raster images (JPEG, PNG, PSD) are made of pixels and can appear blurry when enlarged. They are better suited for photographic elements or texture-heavy designs. Always supply raster images at high resolution (300 DPI).
- Embedding raster content: If your vector file contains raster elements (e.g., a background photo), ensure they are embedded at sufficient resolution. Avoid linking to external files that might get lost or downgraded during transfer.
Combining both vector and raster elements is acceptable, but carefully manage the balance. Vector outlines should not rely on raster effects that blur upon scaling, especially for large placements on custom t-shirts.
Fonts, Text, and Typography Tips
Typography plays a starring role in many custom t-shirt designs, so keep the following tips in mind:
- Embed or outline fonts: When exporting from Illustrator or Photoshop, either embed the font files or convert the text to outlines. This prevents font substitution issues on another computer.
- Use print-friendly fonts: Choose fonts with good readability, especially on smaller placements. Avoid overly thin or delicate typefaces that may not translate well to textile printing.
- Maintain vector paths: Keep your text in vector format for crisp edges. Rasterizing text before ensuring the final dimension can lead to pixelated type.
Well-prepared typography ensures your brand messaging remains sharp and consistent across every custom t-shirt.
Proofing, Approval, and Revisions
Proofing is a vital safety net before production begins. At Fabrikn, we provide digital proofs that mirror what will be printed on the garment.
Here’s how to navigate the proofing process:
- Review every detail: Confirm placement, dimensions, colors, and fonts. Compare the proof to your original design files on calibrated screens when possible.
- Request changes promptly: If revisions are needed, provide clear annotations for alterations. This reduces miscommunication and speeds up the turnaround.
- Approve in writing: After reviewing the final proof, respond with confirmation so our production team can proceed confidently.
Proofs bridge the gap between design and manufacturing, ensuring your custom t-shirts meet expectations before printers touch the garment.
Submitting Files to Fabrikn
Getting your artwork to our production specialists should be effortless. Use the submission channel that works best for your workflow:
- Upload through the Fabrikn portal: Access our secure upload portal via the Services page for efficient file transfers.
- Email attachments: If files are under 25MB, send them directly to your Fabrikn representative. Always zip multiple files to preserve structure and avoid upload errors.
- Use file transfer tools: For larger files, platforms like WeTransfer or Dropbox are acceptable. Provide download links with clear descriptions, such as “Back_Print_V2.zip” with included layout notes.
Once uploaded, notify our production team through direct communication or the Contact Us page to confirm receipt. Including reference numbers or PO details streamlines tracking and prevents delays.
Best Practices for Flawless Printing
Beyond technical requirements, adhering to best practices enhances production efficiency and print quality.
- Keep artwork centered: Align designs within the artboard so print placement is precise. Off-center or poorly aligned artboards create confusion during setup.
- Use consistent units: Stick to inches or millimeters across all files. Mixing units can lead to scaling errors.
- Document color references: Provide Pantone numbers or high-quality swatches. Consistency is key, especially for brand colors.
- Include a spec sheet: Attach a simple PDF outlining placement sizes, garment colors, and special instructions. This acts as a reference for both designers and printers.
- Allow for printing tolerances: Understand that textile printing introduces slight variations in placement and color. Leave sufficient space from seams and edges.
By putting these practices into action, you demonstrate professionalism and help our team match your vision with precision.
Common File Mistakes to Avoid
Many clients come to Fabrikn seeking help fixing common file errors. You can bypass these hurdles by avoiding these pitfalls:
- Low resolution artwork: Submitting 72 DPI files is the most frequent issue. Always confirm the effective resolution at actual print size.
- Incorrect color mode: Sending RGB files without prior conversion leads to unexpected color shifts in the final print.
- Missing fonts or links: If fonts are missing or linked files are not included, designers may recreate them incorrectly, leading to brand inconsistencies.
- Unlabeled files: Ambiguous file names like “newdesign_final” confuse the workflow. Always include placement and version details.
Avoiding these errors ensures your project progresses smoothly from design to finished garment.
Conclusion
Custom t-shirt design file requirements might seem complex, but with careful preparation you empower Fabrikn to deliver outstanding custom clothing. From selecting the right file formats and maintaining resolution to managing color profiles and font treatments, every detail contributes to a flawless print. Remember to submit clear, organized, high-resolution files and communicate any special placement needs upfront.
For further guidance or to start your next custom apparel project, explore our About Us page, review the services we provide, and connect via Contact Us. Our team is ready to assist in transforming your custom clothing ideas into reality with precision and professionalism.
Ready to Start Your Custom Clothing Project?
Get a free quote from Fabrikn — your trusted B2B clothing manufacturer with 10+ years of experience. MOQ as low as 200 pieces.
Get a Free Quote →
Comparison table for custom t-shirt design file requirements
Supplier optionBest fitWhat to verifyDecision signal
Cut-and-sew factoryCustom silhouettes, private-label capsules, and fit-sensitive programsPattern capability, size-set process, sewing-line capacity, and QC checkpointsThe factory can explain how samples move into bulk without guesswork
Decoration specialistEmbroidery, screen print, heat transfer, sublimation, and branded trimsArtwork limits, wash testing, color tolerance, and reject handlingThey show production proofs and test results before bulk approval
Full-package partnerTeams that need sourcing, development, packaging, and export supportMOQ, lead time, material sourcing, compliance documents, and communication rhythmYou get one accountable timeline instead of several disconnected vendors
Decision checklist before committing
- Define the target product, audience, order quantity, and selling channel before discussing price.
- Ask whether the supplier can document material source, sample revisions, bulk inspection, and export packing.
- Request a clear quote split between product cost, decoration, packaging, testing, and freight assumptions.
- Set approval points for artwork, trims, fit sample, pre-production sample, and final inspection.
- Keep one change log so the factory, brand team, and logistics contact work from the same version.
Frequently Asked Questions
What file formats does Fabrikn prefer for custom t-shirt designs?
We prefer vector formats such as AI, EPS, and SVG for logos and typography, while high-resolution raster files like PSD, TIFF, or PNG are acceptable for photographic designs. Avoid low-resolution JPGs unless used for proofs.
How do I handle colors for print?
Convert your artwork to CMYK for the most accurate printing results and provide Pantone spot colors where exact matches are required. Include color swatches and refer to brand standards to ensure consistency.
Can I submit designs with transparent backgrounds?
Yes. Transparent PNGs are ideal for DTG prints, and layered vector files with controlled transparency work best for screen printing. Avoid unwanted ghosted edges by cleaning up transparency boundaries before submission.
How should I submit files for review?
Use our upload portal via the Services page for secure transfers, or send files via email if small enough. When working with large files, share download links from platforms like Dropbox or WeTransfer and notify us through the Contact Us page.
What happens after I submit my design?
Our prepress team reviews the file, checks for necessary adjustments, and prepares a digital proof. You’ll receive a proof for approval. After you confirm the proof, we proceed with screen printing, DTG, or the appropriate production method.