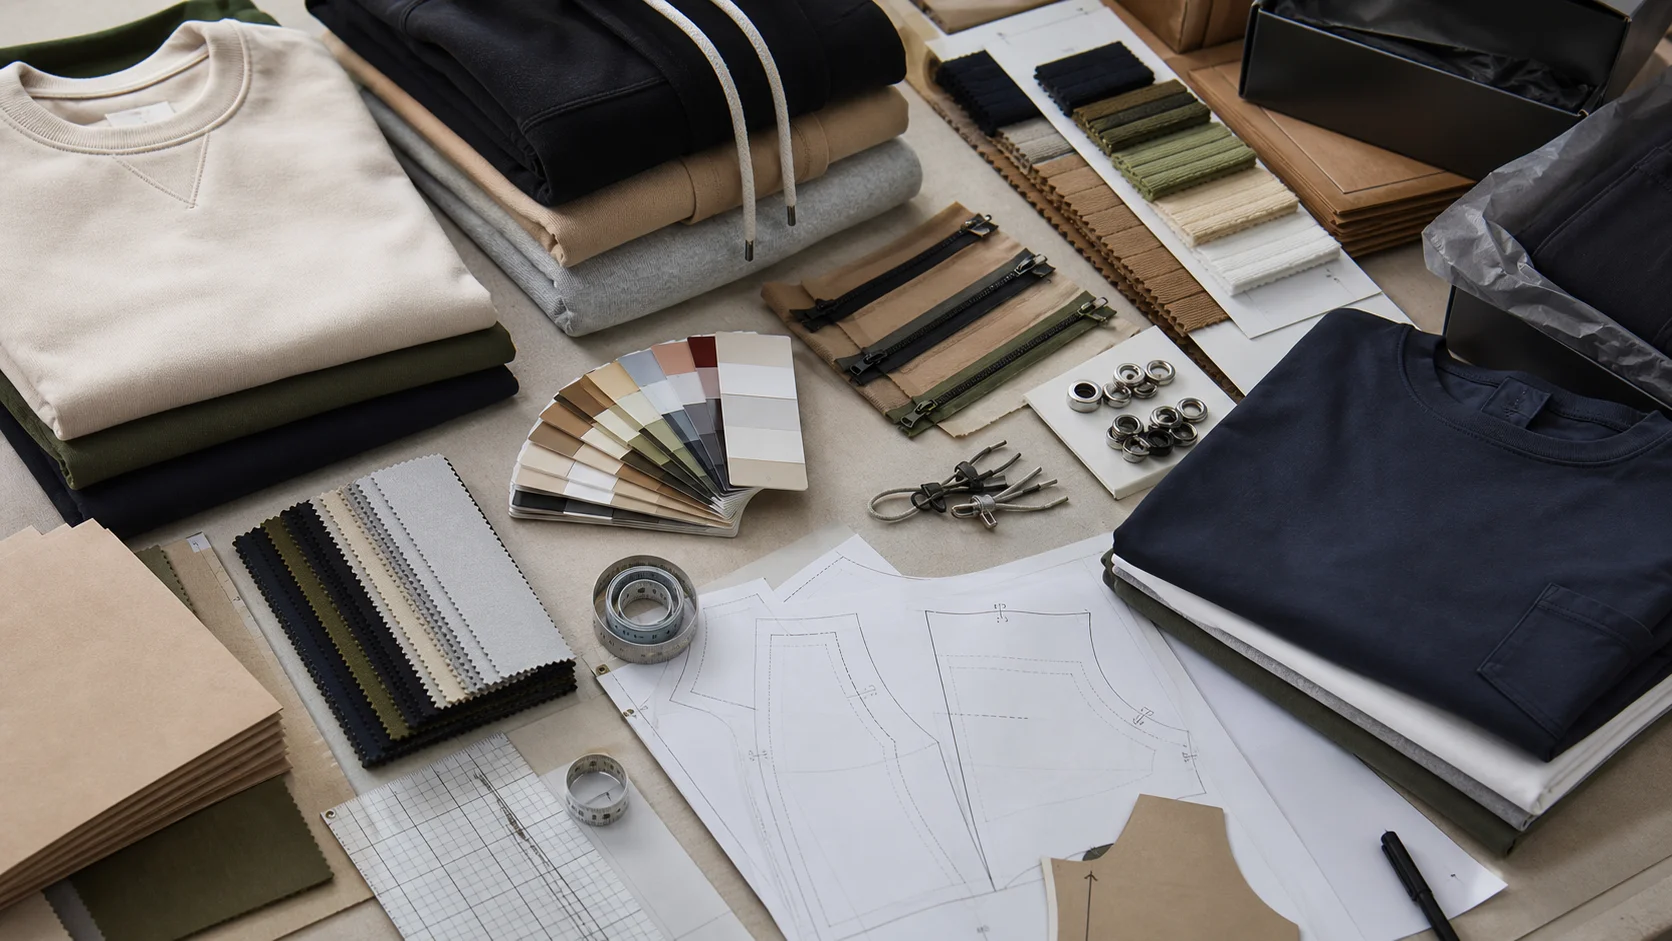
Custom T-shirt Screen Printing File Setup compared by sample evidence, fabric or trim specs, MOQ, AQL terms, cost lines, delivery timing, and rework...
Fast answer: Custom T-shirt Screen Printing File Setup: Sample Fit, Trim, AQL, and Delivery Risk should be judged by production evidence, not by a generic sourcing promise. The buyer needs sample proof, cost breakdowns, QC checkpoints, and delivery buffers in writing.
Ask for recent sample photos, measurement tolerances, fabric or print test assumptions, decoration test notes, packing examples, and a named inspection checkpoint. These details show whether the team can repeat an approved sample at bulk volume.
Separate garment cost, decoration, labels, packaging, sampling, testing, freight, and rush charges. Clear cost lines make it easier to reduce colorways, adjust size depth, or reserve more time for sampling.
Getting the file setup right is one of the most important steps in custom t shirt screen printing. A well-prepared print file can mean sharper details, cleaner color separations, faster production, fewer revisions, and lower risk of costly mistakes. A poorly prepared file, on the other hand, can lead to blurred edges, incorrect sizing, color issues, delays, and disappointing results on the final garment.
This guide explains everything you need to know about custom t shirt screen printing file setup, from choosing the right artwork format to preparing spot colors, sizing your design, and avoiding common prepress mistakes. Whether you are a brand owner, designer, merch buyer, or production manager, understanding file setup will help you communicate more effectively with your print partner and achieve better results.
Screen printing file setup is the process of preparing your artwork so it can be accurately separated, exposed, and printed onto a garment. Unlike general graphic design files, screen printing artwork must be optimized for production. This means the file should be clean, properly sized, color-defined, and in a format that your printer can use without unnecessary correction.
At a minimum, good file setup helps answer these production questions:
When you send a properly prepared file, the screen printing team can move faster and with greater confidence. If you want support from a manufacturing partner, you can learn more about our production capabilities on the services page.
Screen printing is a physical printing process, and every step depends on clarity. The artwork must be separated into layers or screens, transferred to film, burned onto screens, aligned on press, and printed with precision. Any issue in the file can show up in the finished garment.
Here is why file setup matters so much:
For brands producing retail-quality apparel, file preparation is not just a technical step. It is part of delivering a reliable customer experience. If you are planning a bulk order or need help aligning production requirements with your design goals, you can also reach out through our contact page.
The best file format depends on the type of artwork you are using. In most cases, screen printers prefer files that preserve sharpness and color control.
If your design includes logos, text, or bold graphic shapes, vector formats are typically the best option. If you are using photography or painterly textures, a raster file may be necessary, but it should still be high resolution.
Resolution is one of the most important technical considerations in custom t shirt screen printing file setup. If a file is too low resolution, the print may appear pixelated or soft. For raster artwork, printers usually expect at least 300 DPI at the final print size.
The key is final output size. A file that looks sharp on screen may still print poorly if the image is enlarged beyond its intended dimensions. Always check resolution at actual print size rather than at thumbnail or design-stage scale.
For example, a 4-inch graphic at 300 DPI should remain 300 DPI when placed at 4 inches. If you stretch that same file to 12 inches, the effective resolution drops significantly.
Color setup is especially important in screen printing because each ink color often requires its own screen. Most screen printers work with spot colors rather than full-process CMYK unless the job specifically calls for simulated process printing or specialty techniques.
Spot colors are predefined ink colors used for accuracy and consistency. They are often matched to Pantone values or custom-mixed formulas. If your brand uses exact logo colors, supplying Pantone references can help maintain consistency across multiple orders.
Screen printing can reproduce a wide variety of colors, but your file setup should reflect the production method. If your design uses gradients, shadows, or photographic elements, your printer may recommend halftones or simulated process separations. Always confirm the best method before finalizing artwork.
Understanding the difference between vector and raster artwork is essential for custom t shirt screen printing file setup.
Vector artwork is created using paths, points, and mathematical shapes. It can be scaled up or down without losing quality. This makes it ideal for logos, lettering, icons, and simplified illustrations.
Advantages of vector artwork:
Raster artwork is made of pixels. Photos, detailed paintings, and some digital illustrations are raster files. These can print well if the resolution is high enough, but they are not as flexible as vectors.
Advantages of raster artwork:
Whenever possible, convert logos and text into vector format before sending them to production. If you are unsure whether your design is vector or raster, your printer can usually inspect the file and advise you.
Correct sizing and placement are critical in apparel decoration. A design may look great on a computer screen but feel too large, too small, or too high once printed on a shirt.
Placement also depends on garment size range, print method, and target audience. Youth sizes, women’s cuts, and oversized streetwear tees may all require slight adjustments. A good production partner will help you balance design intent with garment fit and print area.
Not every design element translates cleanly to screen printing. Thin fonts, tiny lines, and intricate details can cause production issues if the artwork is not adjusted properly.
Always convert fonts to outlines before sending final artwork. This prevents font substitution and ensures the printer sees the exact lettering you intended. Also consider legibility at actual print size. Decorative scripts and very condensed typefaces can become hard to read when printed small.
Very thin lines may disappear or break up during exposure and printing. In general, thicker lines are more reliable, especially for textured garments or lower mesh counts.
Excessively small text, tiny symbols, or complex linework may not survive the screen printing process. If your artwork includes fine detail, talk with your printer early so they can recommend adjustments or a different print technique.
Converting artwork for screen printing usually means preparing it for production-friendly output. Here is a practical workflow:
If your original artwork was created in a raster program, you may still be able to clean it up for printing, but the process may be more limited. For brand assets, it is always smart to maintain an editable vector master file for future print runs.
Before submitting a file, use this prepress checklist to reduce the chance of errors:
This checklist is especially useful for brands ordering recurring programs or coordinating multiple SKUs. A consistent file setup process helps protect both quality and turnaround time.
Many screen printing issues come from a handful of repeat mistakes. Avoiding these problems can save time and money.
Low-resolution files are one of the most common causes of blurry prints. Always check your final output resolution before submission.
If fonts are not outlined, the printer may not have access to your typeface, which can cause substitutions or layout shifts.
Every added color can increase complexity and cost. Simplify the design if possible without losing the core creative idea.
Ink colors can look different depending on the shirt color. White, black, and colored garments all affect appearance.
Always specify the actual print dimensions. Do not assume your printer will guess the intended size correctly.
What looks great on a screen may not reproduce well on fabric. Simplify where necessary.
Clear communication is one of the best ways to ensure a successful print job. Your printer is not just a vendor; they are a production partner who can help refine your artwork and guide you toward the best print method.
When sending files, include the following:
It is also helpful to ask for a proof or mockup before production begins. That proof can catch mistakes early and help align expectations. If you want to learn more about the company behind our apparel solutions, visit our about us page.
While file setup is primarily a production concern, it also affects how brands operate online and at scale. Clean artwork systems make it easier to launch collections, maintain product consistency, and create repeatable marketing assets. For ecommerce brands, event merch companies, and private label clothing lines, a reliable file setup workflow supports faster campaigns and more accurate product launches.
From an SEO perspective, strong production processes can also support better content, better product imagery, and more professional brand presentation. When your visuals are consistent across product pages, social media, and promotional campaigns, your brand appears more trustworthy and polished.
In other words, the right file setup does more than help your printer. It helps your entire apparel business run more efficiently.
Custom t shirt screen printing file setup is a foundational step in creating high-quality apparel. The best files are clean, properly sized, correctly color-managed, and prepared with production in mind. Whether you are printing a simple logo or a complex graphic, careful file preparation reduces errors and improves the final result.
If you are planning a custom clothing project and want support from a professional manufacturing partner, Fabrikn can help guide the process from artwork preparation to production. Explore our services or get in touch through our contact page to discuss your next order.
Get a free quote from Fabrikn — your trusted B2B clothing manufacturer with 10+ years of experience. MOQ as low as 200 pieces.
Get a Free Quote →AI, EPS, and PDF are usually the best formats because they preserve quality and work well for vector artwork. High-resolution PSD files can also work for certain designs.
For raster images, 300 DPI at final print size is the standard recommendation. Lower resolutions can produce blurry or pixelated prints.
It depends on the printer’s workflow, but screen printing usually works best with spot colors or clearly defined Pantone references. Always confirm with your printer before final delivery.
Yes. Outlining fonts prevents compatibility issues and ensures the printer sees the type exactly as designed.
JPG files are usually not ideal because they are compressed and may not hold up well at production size. Vector files are preferred whenever possible.
There is no fixed limit, but fewer colors often mean simpler production and lower cost. The right number depends on your design and print method.
Tiny details may not print well. Your screen printer can advise whether the art needs simplification or whether a different decoration method would be more suitable.
Yes. Fabrikn can help review artwork requirements, production needs, and order details to make sure your custom clothing project is ready for printing.