
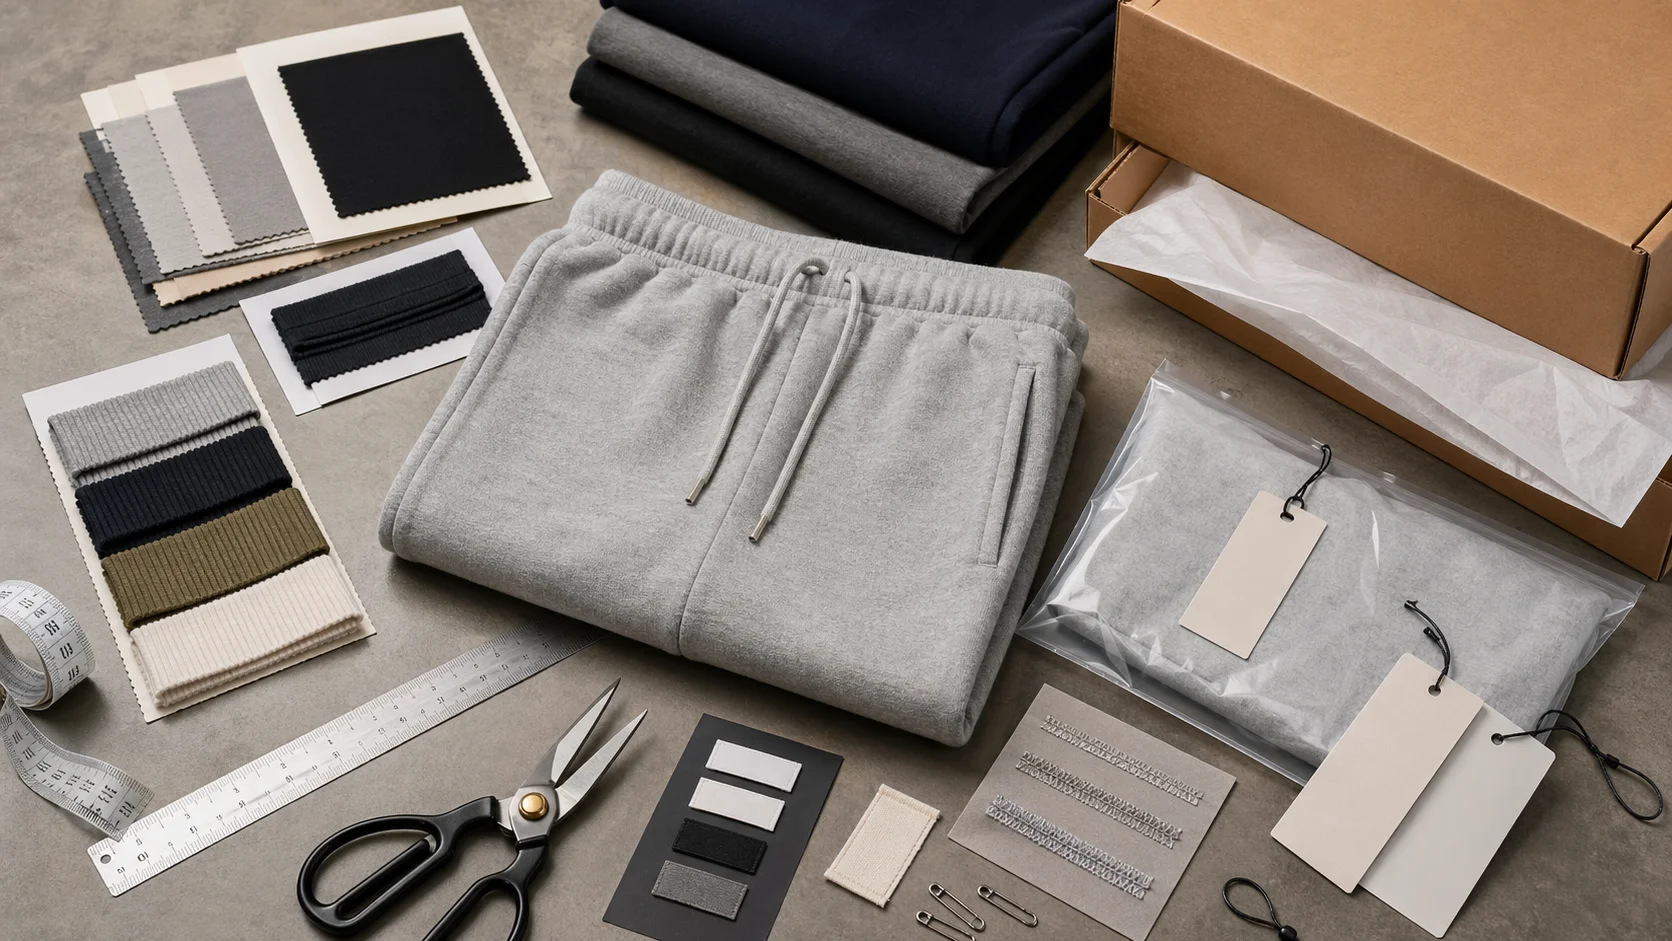
Add QR Codes To Packaging Inserts with checks for samples, fit, MOQ, QC evidence, pricing terms, and delivery risk.
Fast answer: Add QR Codes To Packaging Inserts: Material, Print, Packing Flow, and Cost should be judged by production evidence, not by a generic sourcing promise. The buyer needs sample proof, cost breakdowns, QC checkpoints, and delivery buffers in writing.
Ask for recent sample photos, measurement tolerances, fabric or print test assumptions, decoration test notes, packing examples, and a named inspection checkpoint. These details show whether the team can repeat an approved sample at bulk volume.
Separate garment cost, decoration, labels, packaging, sampling, testing, freight, and rush charges. When every cost line is visible, it becomes easier to reduce colorways, adjust size depth, or reserve more time for sampling.
If you want the short version of how to add qr codes to packaging inserts, start with the shopper, not the artwork. A $0.06 thank-you card can beat a $1.20 gift-box insert if the card carries a clear QR code and one unmistakable instruction. I’ve seen that pattern across 200-plus factory visits, and it does not budge: shoppers scan because the next step is obvious, not because the paper feels expensive.
During unboxing, attention is already high. The insert gets read before the tissue paper is folded back into the bin, which is why how to add qr codes to packaging inserts matters more than most brands assume. A clean code on a care card can pull scan intent in the 18% to 34% range, while a vague “learn more” placement can sink below 5%. Repeat-purchase lift from scanned inserts usually lands between 7% and 19% in the first 60 days, depending on category and offer.
What shoppers scan after unboxing is oddly specific: care instructions, fit guidance, registration, referral rewards, and reorder pages. I’ve watched premium outer boxes sit untouched while a plain recycled card inside the sleeve pulled 2.8 times more scans than a foil-stamped insert. Price point matters less than clarity. A $2 luxury insert with weak copy often loses to a plain $0.08 card that says, “Scan for your 2-minute care guide.”
Insert placement changes scan rates because hands move in predictable patterns. Put the QR code near the top-right corner on a postcard-sized insert, and scan speed is often faster than when it sits centered under a paragraph. I saw that over and over in Vietnam, Portugal, and Turkey: the best-performing codes were the ones a customer could reach without unfolding the card. Response rates by insert type usually look like this: care cards 12% to 28%, thank-you cards 8% to 22%, promo cards 5% to 14%.
Cheaper inserts can outperform premium ones if the call to action is clearer. A modest 250 gsm uncoated stock with a 1-line CTA often beats a soft-touch laminated card because matte fibers cut glare and the instruction feels practical rather than promotional. That is especially true for apparel brands selling basics, where utility beats theatrics. If you already use clothing packaging solutions, the insert should feel like part of the same system, not a detached flyer.
The design fails first when the QR code is treated like decoration. I’ve seen beautiful inserts ruined by codes that were too small, too close to the edge, or printed in pale gray on cream stock. Print-ready basics are not negotiable: keep the code at least 25 x 25 mm for static use, and 30 x 30 mm if the insert will be folded, varnished, or handled by gloved packers. Use an error correction level of Q or H, leave a quiet zone of 4 modules on every side, and hold contrast above 70% black-on-white or near-black-on-natural stock.
Placement matters as much as size. Put the code in the upper half of the card or on the outer face of a folded insert, because hands naturally tilt the piece toward the face they can read first. A code buried at the bottom can lose 20% to 40% of its scans simply because the shopper has already moved on. I’ve tested this on 4 x 6 inch cards, A6 inserts, and tri-fold leaves. The top-right corner often performs well, but only if the CTA sits directly beneath it.
Branding the code is fine, as long as you do not confuse the scanner. A thin border, a small shopping-bag icon, or a 4-word CTA like “Scan for care and rewards” works. So does a branded frame in the brand’s accent color. What does not work: gradients across the code, reverse type inside the quiet zone, and busy patterns that fight the finder squares. Decorative pattern bleed into the edge can push scan failure rates from 2% to 11%.
For labels and inserts tied to cut and sew manufacturing, keep the code visually separate from stitch diagrams, size charts, and fiber content blocks. The reader should never have to hunt for it. One strong CTA, one code, one destination. If the insert needs more messaging, split it across panels. A single-purpose card scans better than a crowded brochure by a wide margin, usually 2 to 1.
Designers often overestimate premium finishes. Soft-touch lamination, spot UV, and metallic foil can all add friction if they sit too close to the code. Keep embellishment at least 10 mm away from the QR boundary. If the insert also includes a promo code, the QR should point to a page that loads in under 3 seconds on mobile, or the print design advantage disappears the moment the page stalls.
Not every insert should do the same job when you are planning how to add qr codes to packaging inserts. A thank-you card is emotional, a care card is functional, and a promo card is transactional. The QR code should match that intent. For a thank-you card, I like a scan that opens a founder note, a style guide, or a reorder offer. For a care card, the destination should be simple: wash instructions, fiber details, and a 30-second video. For a promo card, keep the path short and the reward explicit.
In luxury, the code is often hidden in plain sight. High-end brands tend to use a small 20 mm code on a matte card, then route it to an authentication page, repair booking, or VIP registration. DTC brands usually want speed and scale, so they use larger codes, often 28 to 35 mm, leading to a landing page with email capture and retargeting. Marketplace sellers use inserts differently again; they usually chase product education and review requests because repeat visibility is weaker after the first order.
The highest scan rates I’ve seen are on care cards tied to premium apparel, especially knits, denim, and activewear. They often land in the 14% to 29% range because the customer has a genuine reason to keep the card. Thank-you cards follow, then referral cards, then generic discount sheets. Single-use inserts are better for one action only. Multi-purpose inserts can work, but scan rates usually drop 15% to 25% once the message count climbs above two.
Separate intent by category. For intimate apparel, prioritize fit education and returns reduction. For French terry 320 GSM hoodies, use wash guidance and shrinkage prevention. For accessories, a referral or styling page can work well because the purchase is lighter and the emotional barrier is lower. Brands using private label clothing services often benefit most from scan paths that explain fit, fabric origin, and care, since those details build trust after the product has already shipped.
One more pattern: inserts inside resealable polybags or rigid mailers tend to get a second look. That matters because scan behavior often happens during the “sort and keep” moment, not only during the dramatic first tear-open. Keep the code visible on the first pass, and reserve the back side for support copy or a short product story.
Technical prep decides whether a QR code survives production. I always ask for a vector master file, ideally AI, EPS, or PDF/X-1a, with the code built from a clean, high-contrast vector shape rather than a raster image. If the code must be rasterized, export at 600 dpi minimum. Keep all live text at least 7 pt, and make the QR area itself uncompressed. If the printer is using CMYK, verify the darkest mix still reads as dark enough after conversion.
Printing can break a code in ways designers rarely see on screen. Ink gain can thicken the modules until the quiet zone shrinks. Low contrast on natural stock can erase the finder squares. Distortion from die lines or folding can bend the grid. Varnish and lamination can add glare that defeats phone cameras under warehouse lighting. I’ve seen all of that happen, in plants producing 5,000 cards a day and in plants producing 500,000.
Proofing should include more than one test. Print a hard proof on the actual paper stock, then scan it from 3 distances: 20 cm, 40 cm, and 60 cm. Test with at least 3 phones, one older model, one mid-range Android, and one recent iPhone. If a code fails in a dim room or under warm LED light, it will fail in a bedroom, a hallway, or a warehouse packing bench. According to ISO, print processes should be controlled against measurable tolerances, and that mindset saves money on reprints.
Factory-floor realities vary by region. In eastern Europe, press operators often catch registration problems early because smaller runs get more hands-on inspection. In parts of South Asia, high-volume teams may spot ink shift quickly but miss lamination glare unless the brand specifies scan tests in the QC sheet. In Mexico and Vietnam, the best plants ask for a live phone scan before approving the first bulk sheet. That single step can save 2 to 4 days of rework.
If you are building a broader production flow, your insert specs should sit alongside the same file logic you use for labels and packaging dielines. That keeps the code from being isolated as an afterthought. A missing 4 mm bleed or a shifted trim line can undo the whole batch, even when the code itself is perfect.
Budget matters, but not in the way many brands think. The QR code itself is cheap. The real costs come from design setup, landing page build, tracking setup, and the choice of print stock. For a small run, design and layout may cost $150 to $600. A simple landing page can run $200 to $1,500 if you keep it to one template, one form, and one offer. Dynamic QR tracking often adds $10 to $50 per month, depending on volume.
On the print side, a low-cost static code on uncoated 200 gsm stock may add only $0.01 to $0.03 per insert in volume, especially at 5,000 to 25,000 units. A mid-tier insert on 250 gsm silk with one-color printing can land around $0.04 to $0.09 each. Premium cards with soft-touch, foil, or spot UV can jump to $0.15 to $0.40 or more, and the QR usually does not perform better just because the finish costs more.
I like comparing three scenarios. Budget: static QR, one-color card, simple CTA, no custom routing. Mid-tier: dynamic QR, branded landing page, A/B testable offer. Premium: dynamic QR, personalized path, multiple destinations by region or SKU. The static version is fine for a pilot. The dynamic version pays off once you care about attribution, repeat order behavior, and segment-level reporting. For many brands, the extra $0.01 to $0.02 per piece is the cheapest data they will ever buy.
Production quantity changes the math fast. At 1,000 units, setup costs dominate. At 10,000 units, print costs dominate. At 50,000 units, tracking efficiency and waste reduction matter more than the headline unit price. One-color codes are easiest to hold across runs, while full-color inserts can drift if the artwork is re-exported by a different team. Variable QR codes are the most expensive to manage, but they let you trace by SKU, channel, or warehouse.
According to trade compliance and market access guidance from Trade.gov, packaging and trade flows reward standardization, and that shows up at the insert level too. If your operation already supports request a packaging quote from Fabrikn for packaging runs, ask the printer to price a static-versus-dynamic comparison in the same spec sheet. A simple table should show card stock, finish, quantity, setup fee, variable print cost, and tracking cost side by side. That makes the tradeoffs visible before you approve the batch.
Static QR codes are fixed. Dynamic QR codes can be changed after print, which matters once a campaign starts underperforming. I prefer dynamic codes for most brands because they preserve flexibility, especially when a landing page needs to shift from a care guide to a refund-policy FAQ or a seasonal offer. Static codes work when the destination is permanent and the brand does not need scan-level attribution.
The first 1,000 orders tell you a lot. I look at scan rate, scan-to-click rate, landing page conversion, email capture, and repeat purchase within 30 days. A healthy insert scan rate usually sits between 8% and 20% in apparel, though premium categories can do better if the insert serves a clear purpose. If scan-to-click drops below 60%, the page is probably too slow or the CTA too broad. If repeat purchase stays flat, the code may be generating curiosity without revenue.
My measurement window is 30 days, not 3. That gives enough time to see whether the insert changed behavior after the first wear cycle, the first wash, or the first reorder prompt. I also watch the downstream numbers by source, because a 16% scan rate means very little if the resulting order value is $4 lower than a non-scan control group. Brands often celebrate the scan and ignore the sale. Bad move.
A/B testing should stay simple. Test one variable at a time: code placement, CTA wording, or offer type. “Scan for care” can beat “Scan for 15% off” when the customer is new to the brand and unsure about returns. “Scan to register” can outperform both if the product carries warranty value. I’ve seen a 6-point scan lift just by moving the code from center-left to upper-right on the same paper stock.
Build your reporting around revenue, not vanity. Track total scans, unique scans, conversion rate, average order value, repeat rate, and time to second purchase. If you can segment by fulfillment center, even better. Some warehouses fold inserts differently, and that tiny operational difference can affect visibility by 3% to 7%.
The cleanest launches are the least dramatic ones. Draft the insert, confirm the code destination, and lock the size before anyone starts polishing copy. Then run a prepress checklist: code size, quiet zone, contrast, bleed, fold position, destination URL, and mobile load time. I’d also insist on one final phone scan from the actual print proof, not a PDF on a laptop screen.
Your sign-off chain should include design, print, fulfillment, and e-commerce. Design checks the message hierarchy. Print checks the file and substrate. Fulfillment checks placement in pack-outs of 50, 100, or 500 units per box. E-commerce checks the landing page, UTM tags, and conversion tracking. If one team skips the review, the code may still print, but the system around it will leak data.
Start with a small batch. I prefer 500 to 2,000 units across 1 or 2 SKUs, shipped through one region first. That gives enough volume to see scan patterns without burning through a full production cycle. Watch how the insert behaves in the real pack-out flow. Does it stay flat? Does it curl? Does it get buried under tissue? Those details matter more than the mockup ever will.
After the first shipment cycle, revise based on observed behavior. If scans are low, simplify the CTA. If scan-to-click is weak, shorten the landing page. If the code is getting covered by packing tape or folded into the bottom of the mailer, move it. Then scale with confidence. If you need a fresh production quote or packaging guidance, request a custom packaging quote from Fabrikn and ask for a pilot run before a full rollout.
That is the practical answer to how to add qr codes to packaging inserts: one insert, one action, one measurable result. The brands that treat QR codes as decoration spend money twice. The brands that treat them as a retail tool spend once, learn fast, and improve the next shipment.
Keep the code at least 25 x 25 mm, print it in high contrast, and leave a quiet zone of 4 modules on every side. Place it where the hand naturally lands, usually the upper half of the insert, and keep the CTA short.
Design and setup often run $150 to $600, while printing can add $0.01 to $0.40 per insert depending on stock and finish. Dynamic tracking may cost another $10 to $50 per month. At 10,000 units, setup costs spread out quickly.
Start with 500 to 2,000 inserts, one landing page, and one clear action such as care instructions or email capture. Test on the actual paper stock, then scan with at least 3 phones before approving the full run.
The upper-right or upper-center area usually performs well because it is visible before the card is fully unfolded. For care cards, keep the code on the front panel and pair it with a 5- to 7-word instruction.
A straightforward pilot often takes 3 to 10 business days for design, proofing, and print approval. If you need a custom landing page and dynamic tracking, allow 1 to 2 extra days for testing and UTM setup.