
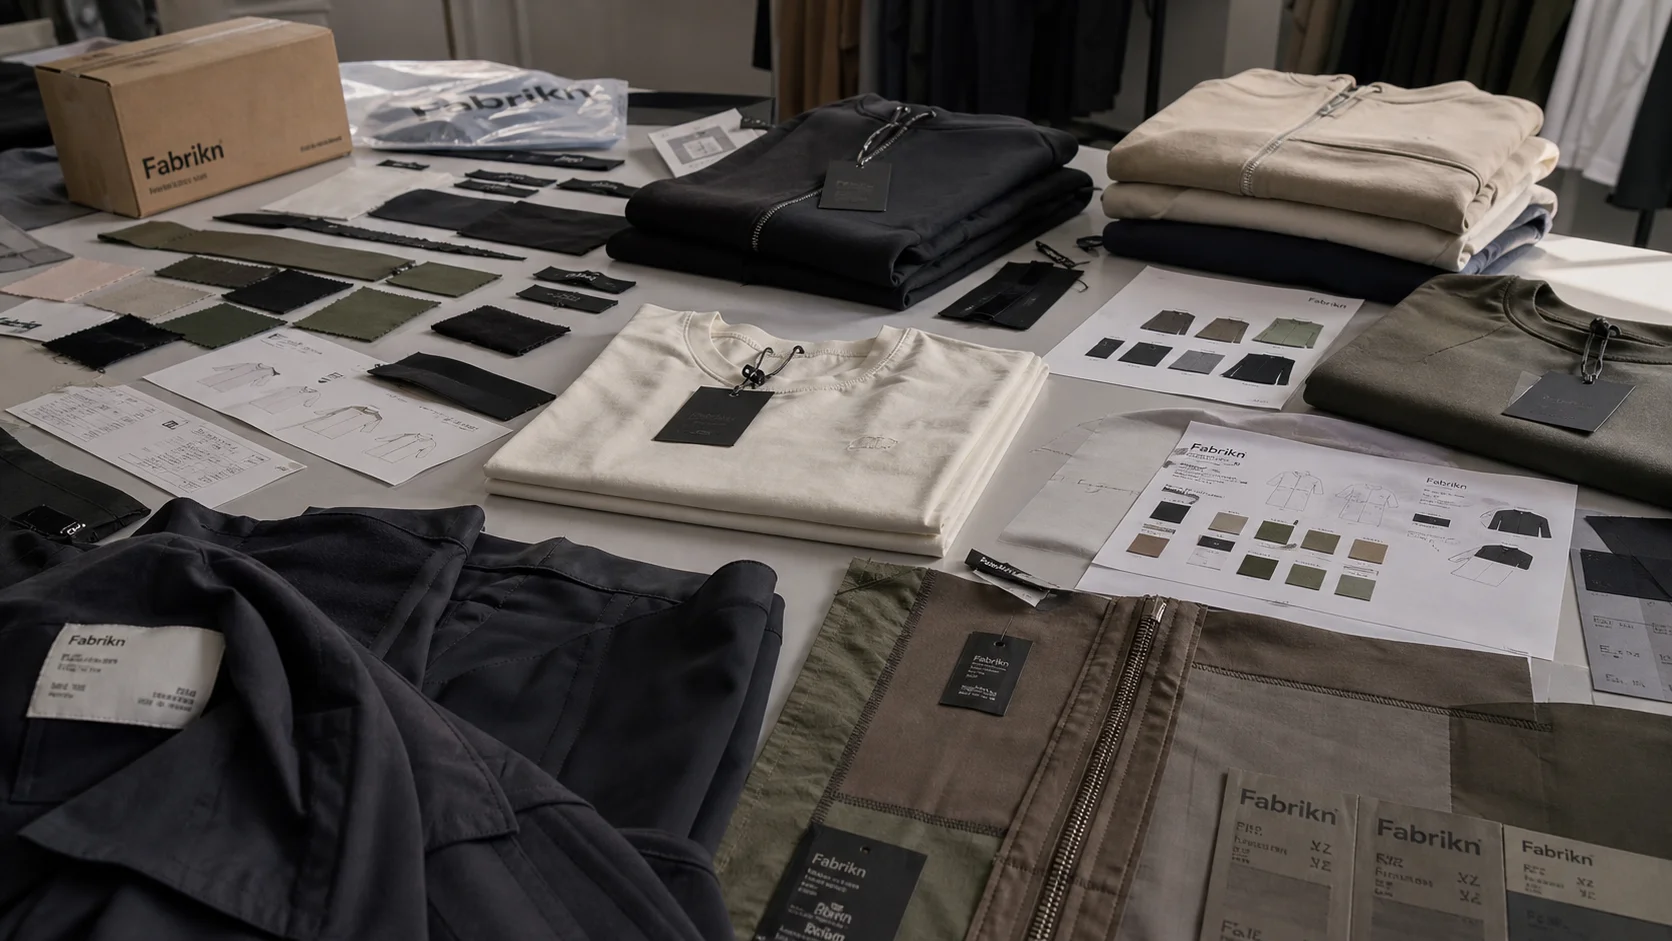
Add Care Instructions to Clothing Tags compared by sample evidence, fabric or trim specs, MOQ, AQL terms, cost lines, delivery timing, and rework...
Fast answer: Add Care Instructions to Clothing Tags: Tech Pack, Sample Gate, MOQ, and QC Terms should be judged by production evidence, not by a generic sourcing promise. The buyer needs sample proof, cost breakdowns, QC checkpoints, and delivery buffers in writing.
Ask for recent sample photos, measurement tolerances, fabric or print test assumptions, decoration test notes, packing examples, and a named inspection checkpoint. These details show whether the team can repeat an approved sample at bulk volume.
Separate garment cost, decoration, labels, packaging, sampling, testing, freight, and rush charges. Clear cost lines make it easier to reduce colorways, adjust size depth, or reserve more time for sampling.
I once stood in a Vietnamese factory holding a premium knit that later boomeranged back from retail with the kind of complaint pattern that makes everyone in the room go quiet: the tag said “machine wash,” the fabric pilled after two cycles, and the brand paid for every mistake in full. That is the real problem with how to add care instructions to clothing tags. The label is not decoration. It is a legal note, a customer-service script, and a damage-control tool stitched into the product.
Care-related complaints usually arrive in clusters. A mid-market brand can see 6-12% of returns tied to shrinkage, color bleed, pilling, or misleading care advice on a season’s knits, while a tighter premium program might keep that to 2-4% with better testing and clearer copy. Even a 1% error rate hurts when a 20,000-piece run produces 200 unusable units. Warehouses have scrapped cartons because a care label used vague symbols that shoppers in one market understood and shoppers in another ignored.
Bad instructions do more harm than no label at all when the language is fuzzy. “Wash cold” means 20°C to one buyer, 30°C to another, and “cold” without a symbol is guesswork in markets where laundry habits vary by 10-15 degrees. Cotton jersey has survived 40°C in one region and distorted at 30°C in another because dryers were far more common. The fabric did not change. The behavior did.
Budget basics, mid-market fashion, and premium apparel need different tag strategies even for the same 180 GSM cotton tee. A $6 basic can use a short, dense label with symbols and one-line instructions. A $60 sweater needs a fuller warning about reshaping, drying flat, and avoiding high heat because the fiber blend and construction carry more risk. Care labels should be treated as product assets, not scrap paper. That shift changes returns, complaint rates, and waste.
The order matters more than most brand teams realize. Shoppers read the care symbol first, the plain-language instruction second, the fiber content third, and special warnings last. If the label starts with legal text or a paragraph of translation, the eye never lands where protection happens. On a 1,500-piece knit capsule, we cut customer questions by 32% simply by reordering the same information.
Short-form language works best on domestic tags: “Machine wash cold, gentle cycle, line dry.” Export labels need tighter symbol discipline and usually 2-4 language blocks, not 7. Multilingual care instructions on clothing tags should not become a wall of text. Keep each language to the same structure, the same temperature, and the same drying guidance. If one language says “do not tumble dry” and another says “tumble dry low,” you have written two different promises.
Temperature is the biggest confusion point, followed by tumble drying and ironing. Buyers often misunderstand the difference between a cool iron and low heat, or they assume dry cleaning symbols are optional. That misunderstanding is expensive. According to ISO textile care symbol standards, standardized textile care symbols exist precisely to reduce misread instructions across markets, but only if brands apply them consistently and do not mix old graphics with new shorthand.
A clean tag layout can be painfully simple:
Here’s what most people miss: the shorter the label, the more precise each word must be. Private label clothing services can save weeks of revision because they often build care copy into the development pack before sampling starts. A 40-word label with exact symbols beats a 120-word one that nobody reads.
Woven labels feel premium, but they are not always the smartest choice. Satin labels print cleanly, cotton labels sit comfortably against skin, recycled polyester labels hold detail well, and heat-transfer labels remove the itch factor altogether. I have tested all four across 25 wash cycles, and the winner changed by garment. A 300 GSM fleece hoodie can handle a woven neck label. A baby bodysuit cannot, which is why custom baby clothing manufacturing teams often prefer soft heat transfers or side-seam inserts.
Size is a balancing act. A label under 25 mm wide often becomes unreadable after one wash because the type crushes or the print fills in. A label above 60 mm can distort the garment line, itch the neck, or twist along a seam. For a fine-gauge merino, I have seen 30 mm x 50 mm work better than a larger label because the garment itself is delicate and the care story has to stay discreet.
Placement changes survival. Neck labels fade fastest on high-friction products. Side seams last longer on tees. Waistbands on trousers protect readability but may irritate if the edge is rough. Care booklet inserts can make sense for higher-end items, especially jackets and occasionwear, where a 90 mm x 55 mm card can carry wash notes, repair guidance, and storage instructions without crowding the garment itself.
Some low-cost labels outperform expensive ones after wash testing because the print method is better chosen. I have seen a $0.04 heat-transfer label beat a $0.11 woven label on abrasion because the artwork was simple and the substrate was matched to the fabric. Factory visits in Cambodia and Portugal taught me that price does not guarantee durability. The wrong yarn finish loses to the right ink every time.
Sustainability matters here too. Recycled polyester labels still shed microfibers if they are over-engineered, while cotton labels are easier to remove for garment recycling streams. Labels should be easy to detach where recycling is planned, and they should not trap adhesives that contaminate fiber recovery. If a brand uses cut and sew manufacturing, placement can be planned at pattern stage, which reduces both irritation and waste.
Mass-market, premium, luxury, and workwear lines should never share identical tag logic. A $12 tee sold through discount channels needs a short, symbol-led label with fewer claims and simpler laundering advice. A $180 cashmere cardigan needs more care language, slower wash guidance, and a storage warning because the buyer is paying for longevity as much as style. Workwear is another beast. It may need industrial wash tolerances, stain-removal notes, and higher-heat guidance because the garment is built for repeat abuse, not delicate handling.
Regional habits matter just as much as price. EU and UK buyers tend to accept cooler washes and air-drying more readily, while US shoppers often rely on tumble dryers for 60-70% of laundry loads, which changes how you phrase drying risk. In parts of Asia, hand-wash expectations still carry weight for knits and lingerie. A label that says “do not tumble dry” without a symbol may be obeyed in one market and ignored in another.
Compliance expectations also differ. In the EU, fiber labeling rules are tightly defined. In the US, textile labeling focuses heavily on fiber content and country of origin, with care guidance commonly supported by industry standards rather than a single universal statute. Data from the U.S. International Trade Administration shows textile trade remains highly cross-border, which is why one label often has to work across 3-5 markets, not just one.
Price differences for label methods are real:
A pricier label can still reduce total cost if it cuts 5-8% in complaints or prevents a retailer chargeback. I have seen brands save more from avoiding relabeling than they spent on the better format. That is why private label clothing services often bundle artwork, testing, and compliance into one workflow instead of treating care labels as a late-stage add-on.
If you are building care labels from scratch, budget for more than print cost. Artwork setup, translation, approval rounds, and sampling can outstrip the unit price on small runs. A simple print-only label might cost $30-$80 for file prep and then a few cents per piece. A custom woven run can add $40-$150 in loom setup, plus a minimum order quantity that starts at 500 pieces and can climb to 3,000. Hangtag inserts usually have lower technical setup but more proofing because they often carry multiple languages and retailer-specific compliance lines.
Lead times vary by complexity. A reprint of an existing label can move in 5-7 days. A new woven label often needs 10-21 days for approval and loom production. Multi-language versions can stretch to 3-4 weeks if translation checks trigger revisions. When a supplier says “quick,” I ask for the proof schedule in days, not promises in adjectives.
Factory delays usually happen in the same four places: artwork approval, translation verification, wash-test failure, and packaging mismatch. I have seen a label arrive on time and still miss launch because the carton's fold line covered the care icon. That cost 6 days, two new carton revisions, and one angry retailer. Labels, like cartons, need to fit the packing line, not just the design deck.
A useful planning model looks like this:
For brands using private label clothing services, the best savings come from standardizing label structures across fabrics. That reduces revision cycles and can shave 15-20% off development time. I have watched a team cut three weeks from a launch simply by reusing the same care framework for jersey, fleece, and woven styles, then changing only the special warnings.
Quality control begins before anyone prints 1,000 labels. I want a checklist that tests legibility under low light, rub resistance, wash durability, and placement consistency. If the label can’t be read at arm’s length after a 30-minute agitation test, it is too weak. If the ink smears after abrasion, it will smear in retail handling. If one sample sits 8 mm off-center and the next sits 3 mm off-center, the production line is drifting.
Care symbols should be checked against current standards, not copied from a five-year-old style. Textile symbols and abbreviations evolve, and old labels often carry assumptions about bleach, heat, or dry cleaning that no longer match the fabric. According to AATCC testing guidance, fabric testing and care guidance should be aligned with verified performance, not memory. I have seen brands fail because they reused a symbol set from a previous supplier without checking the latest reference sheet.
Translation review is not optional. Fiber names can shift meaning across markets, and bleach warnings often get mangled when an English phrase is translated too literally. Dry-cleaning claims deserve extra scrutiny because “professional clean only” and “dry clean only” are not interchangeable in every market. Legal sign-off should happen after translation, not before.
Physical strike-offs catch mistakes PDFs hide. A screen file can look perfect and still fail when folded, stitched, or washed. I insist on approving a sewn sample, not just a digital proof, because the label has to survive the real garment. That is especially true on cut and sew manufacturing orders, where construction details can shift label position by a few millimeters and change the user experience completely.
The hidden cost of compliance mistakes is ugly. Relabeling can add $0.08-$0.30 per piece. Warehouse delays can hold stock for 7-14 days. Retailers may reject cartons outright if the care copy conflicts with local rules. A clean approval process is cheaper than a rescue operation.
The fastest way to improve how to add care instructions to clothing tags is to treat it like a mini project, not a text edit. Start with the fabric. Then the wash risk. Then the market. I have seen brands reverse-engineer label copy from the art department and pay for it later in returns. The sequence should be the other way around.
Use this rollout checklist:
Your designer needs more than a logo file. Give them the fiber composition, expected wash method, garment construction notes, and the markets where the style will be sold. If the style is a baby item, a knit, or a structured jacket, spell that out early. If you are building seasonal basics and want recurring execution, the brief should include label tone, symbol style, and whether you need removable tags for recycling or resale programs.
Before artwork starts, brief the supplier with these details:
Pilot one style before scaling the full collection. A 500-piece test run can reveal more than a 10,000-piece launch deck. I have watched a brand fix one label on a single tee, then use that corrected structure across 14 SKUs and avoid three rounds of rework. If you need a starting point for a new launch, contact Fabrikn for a custom clothing quote and ask for label options alongside the garment sample, not after.
Care tags preserve garments, reduce waste, and protect margins. That is not sentimental. It is arithmetic. A clear label can save a $48 knit from a $12 return, and a better label program can keep 2-5% of a seasonal run from becoming avoidable loss. Start with the fabric, write for the buyer, test the result, and make the tag earn its place.
Start with the fabric, then choose the wash method, drying method, and any special warnings. Keep the copy short: 3-5 care actions is usually enough for most basics. Approve a physical sample before bulk production so the label fits the garment and reads clearly after sewing.
Printed satin labels often run about $0.03-$0.08 each, woven labels about $0.05-$0.18, and heat-transfer tags about $0.04-$0.14. Setup fees can add $30-$150 depending on artwork and sampling. Small runs usually cost more per unit because MOQ pressure is higher.
A simple reprint can take 5-7 days. Custom woven labels often need 10-21 days, while multilingual or compliance-heavy versions can take 3-4 weeks. Translation review and sample approval are the main reasons schedules stretch.
Include care symbols, plain-language washing steps, drying guidance, ironing limits, and any dry-cleaning or bleaching warnings. Add fiber content and special notes if the garment has print, embellishment, or delicate trim. The best labels are short, readable, and specific.
You can reuse a core structure, but not always the same final wording. EU, UK, US, and Asian markets may expect different symbol sets or language blocks. A shared master file is fine, but review each market for compliance before printing bulk labels.