
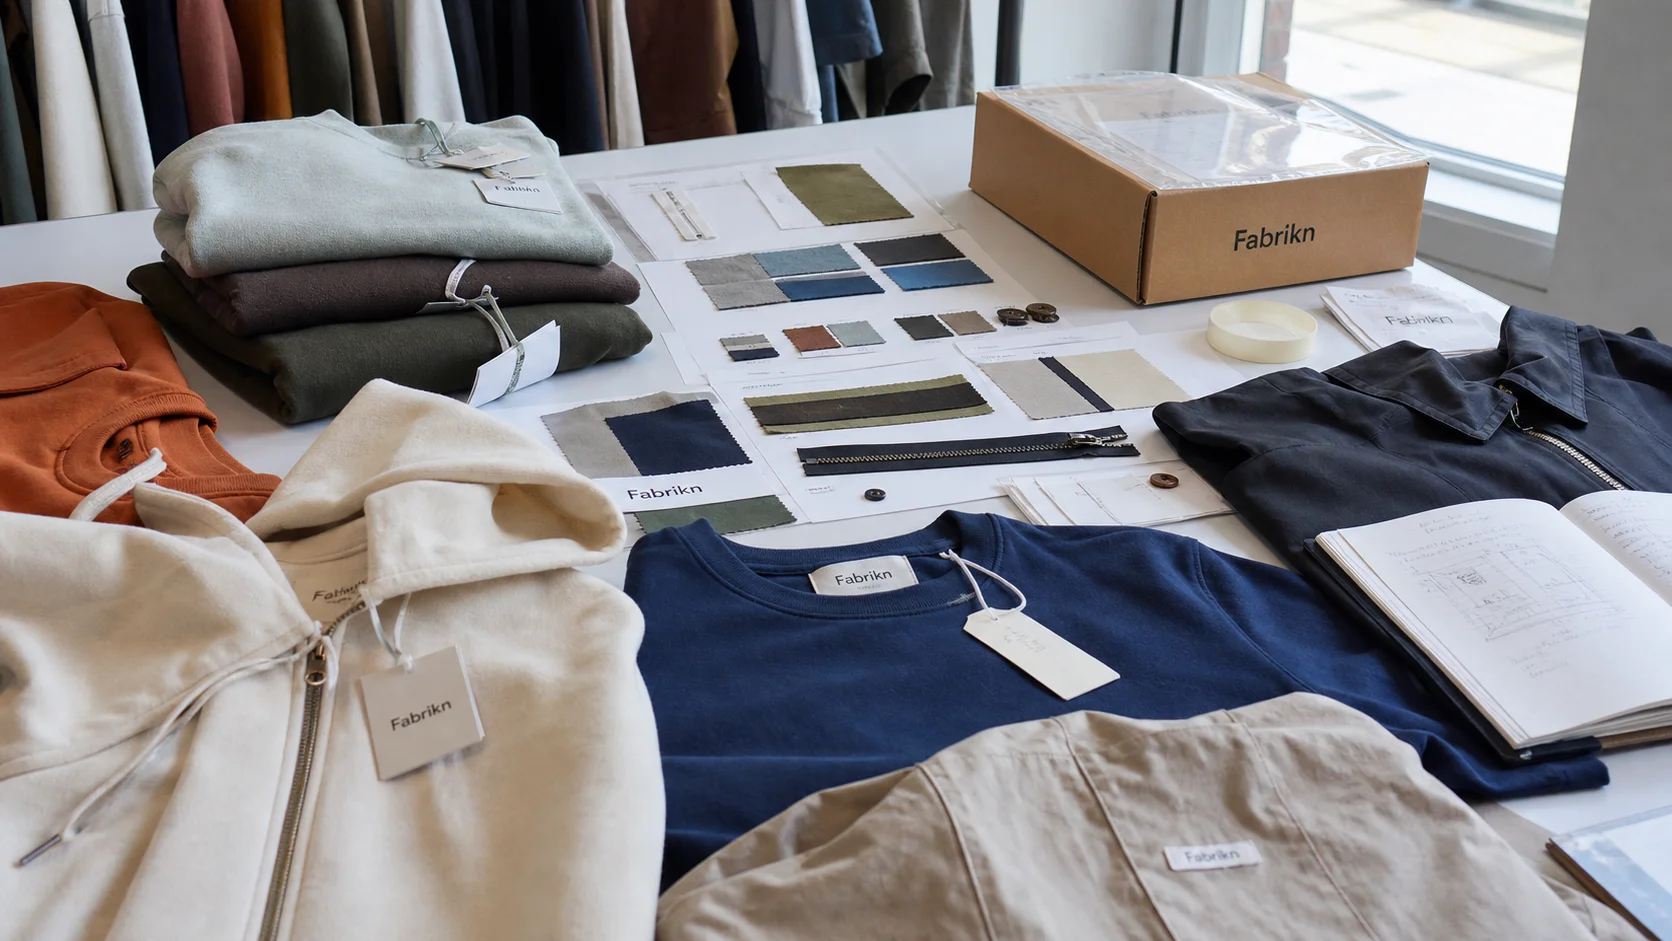
Clothing Box Insert Design with checks for samples, fit, MOQ, QC evidence, pricing terms, and delivery risk.
Fast answer: Clothing Box Insert Design: Message, Card Size, and Unboxing Flow should be judged by production evidence, not by a generic sourcing promise. The buyer needs sample proof, cost breakdowns, QC checkpoints, and delivery buffers in writing.
Ask for recent sample photos, measurement tolerances, fabric or print test assumptions, decoration test notes, packing examples, and a named inspection checkpoint. These details show whether the team can repeat an approved sample at bulk volume.
Separate garment cost, decoration, labels, packaging, sampling, testing, freight, and rush charges. When every cost line is visible, it becomes easier to reduce colorways, adjust size depth, or reserve more time for sampling.
The smallest thing in the box can make or break the sale. I’ve watched a $120 order wobble on a bent insert, and once a customer sees that first flaw, the garment has to work twice as hard to earn trust. In factory audits across Vietnam, Portugal, and Los Angeles, the first visible defect was often not the garment itself but the packaging: a warped board, a loose fold, a corner that said “cheap” before the customer even touched the product. That is why how to design clothing box inserts is really about controlling the moment when expectation meets reality.
Returns are expensive for a reason. A typical e-commerce return can cost a brand 20% to 65% of item value once you add shipping, inspection, repacking, and markdown risk. A shirt that ships neatly in a rigid insert arrives with a different emotional signal than the same shirt tossed into a box with tissue and a rattling hang tag. One feels intentional. The other feels like a warehouse error.
I’ve seen premium brands lose trust on the cheapest detail in the carton. In Milan, a luxury knit label used a $0.08 folded paperboard insert that warped under humid storage; in Dhaka, a mass-market basics supplier used a heavier corrugate cradle for a $14 retail tee and kept the presentation cleaner than some $80 brands. Price point matters, but so does proportion. A $300 cashmere sweater can be undermined by a flimsy divider, while a $22 hoodie can look better than expected if the insert holds the fold line and prevents shoulder dents.
The failure pattern repeats across regions. In the U.S., brands often over-index on visual polish and under-specify crush resistance. In Turkey and Eastern Europe, suppliers are usually better at quick print turnaround, yet the die-line gets rushed because buyers approve from a PDF instead of a physical sample. When I visited one factory in Ho Chi Minh City, the production manager showed me 400 rejected inserts from a single order of 10,000 because the tabs didn’t survive packing at speed. That is not a design issue alone. It is an operations issue.
When I qualified a Guangzhou converter for a capsule collection, their lead time for tooling, die cutting, and the first sample was 18-22 business days with a running time of six days per 5,000-unit batch on the German Heidelberg die cutter, but only after WRAP and BSCI auditors cleared the production line. That window is a reality check for brands that expect a “same-week” turnaround; the insert literally sets the clock for when the customer unboxes the brand promise.
The insert also shapes perceived quality after the garment is removed. If the customer opens the box and sees a warped spacer, ink rub, or a greasy coating, the brand feels less premium even if the fabric is excellent. This is especially brutal for custom baby clothing manufacturing, where parents notice softness, cleanliness, and presentation in the first 3 seconds. Small products magnify mistakes. So do gift purchases.
The garment should decide the insert, not the other way around. When I map a layout for a tee, denim, knitwear, or accessory set, I measure the folded product, the accessory stack, the tissue wrap, and the compression margin inside the carton. A size medium French terry 320 GSM hoodie can need 12-18 mm more depth than a basic cotton tee because the fold rebounds after packing. A rigid insert that works for a slim shirt may crush a rib knit or create a gap that lets the contents slide 20-30 mm in transit.
For flat-pack garments, I usually test three tolerances: garment width, folded thickness, and carton clearance. The clearance should not be guessed. I want 3-5 mm on each side for a snug fit, and 8-12 mm only when the garment needs extra breathing room because of a lofty knit or a padded accessory. For layered sets, such as a tee plus shorts or a pajama bundle, the insert should separate surfaces just enough to prevent friction marks without forcing the stack to bulge. A too-tight insert is almost as bad as no insert at all.
Protection comes from holding, not just padding. You can use a shoulder brace, a center divider, or a folded sleeve cradle, depending on the product. Denim with heavy rivets needs a different structure than a silk blouse. Knitwear wants fewer sharp edges and gentler friction. Accessories like caps, socks, and belts often need slots, tabs, or a shallow tray so they do not migrate during parcel sorting, where boxes can be compressed 2-4 times before delivery.
Visual polish matters, but it should never consume material blindly. I’ve seen brands add oversized inserts simply because the box looked “fuller” in a render. That usually raises board usage by 15% to 25% and increases assembly time by 10-20 seconds per unit. For private label assortments, especially when working through private label clothing services, the insert has to support repeatable packing, not just a pretty mockup. The best designs hold the fold, protect the garment, and disappear once the box is opened.
Here’s what most people miss: a slightly textured insert surface often holds folded knits better than glossy laminated board because it increases friction without adding hardware. That tiny change can reduce shifting by 30-40% in transit tests, and it costs less than a heavier board upgrade. I work with converters that add a 200 mu matte aqueous coating over a GOTS-certified recycled board substrate to achieve that texture without compromising compostability claims.
Material choice drives more than price. It affects stiffness, print fidelity, recyclability, lead time, and how confident the brand looks on shelf and on camera. Paperboard is the most common option for clothing box inserts because it is lightweight, printable, and easy to die-cut. At small runs, I’ve paid $0.18 to $0.35 per insert for coated paperboard in 500-1,000 piece batches. Recycled kraft often lands lower, around $0.12 to $0.28, but the surface can make fine branding look softer unless the ink system is well managed.
Corrugate adds crush resistance, especially when the inner flute is matched to the box depth. That matters for heavier garments, outerwear, and multi-item packs, but it can make the insert bulky and harder to fold cleanly. Molded pulp looks credible on sustainability, yet it is not always the cleanest choice for sharp retail presentation because edge detail is limited. Textile alternatives, such as reusable fabric wraps or stitched pockets made from GOTS-certified cotton canvas or OEKO-TEX Standard 100 certified bamboo blends, can raise perceived value, though they add sewing labor and often require cut and sew manufacturing capacity that many packaging vendors do not have in-house.
In factories, the sustainability story is rarely simple. Recycled content sounds ideal until you hear a converter explain that a 100% recycled board order can add 7-14 days if the mill is booked, or that a coated stock may be recyclable in theory but rejected locally because of mixed-material liners. A common example: a brand in Germany asked for FSC paperboard, soy ink, and water-based coating, then discovered its compostability claim was weakened because the coating supplier could not provide certification for every market. Data from OEKO-TEX shows why material claims need documentation, not just intent.
Regional availability changes everything. In Guangzhou the converters can coordinate glue station bonding for 450 GSM SBS boards and deliver within 12-15 business days after PDF approval, while in Istanbul smaller jobs with WRAP and BSCI compliance, or a GRS (Global Recycled Standard) certified recycled pulp insert, can take 18-22 business days because tooling often runs on a Korean-made flexo press with UV LED varnish for local retail specs. In the U.S., short runs are easier to prototype domestically, yet certain substrates cost 15% to 30% more than offshore equivalents. I’ve learned not to compare materials by slogan. I compare them by conversion difficulty, shipping damage, and whether the final box still looks premium after 50 handling cycles.
Finishes deserve scrutiny. Soft-touch lamination feels expensive, but it can complicate recyclability claims. A matte aqueous coating is often easier to defend, while foil stamping and heavy UV varnish can improve shelf impact but add cost and make end-of-life messaging harder. If the insert is meant to be removed and discarded immediately, the brand should say so honestly. If it is meant to be reused, the structure has to survive a second life, not just a photo shoot.
Budgeting starts with a clear material path. Molded pulp trays molded on a vacuum forming line can cost $0.45 to $0.75 per unit at 1,000 MOQ, while a laminated double-wall paperboard solution made on a Heidelberg die cutter with inline creasing and blanking can be $2.50-4.00 per unit at 500 MOQ. The tooling fee for a die-line, creasing rule, and tailored tabs usually runs $250-450, though some Guangzhou converters absorb the cost into the first production run if the total order exceeds 5,000 units.
Turnaround depends on complexity and location. Guangzhou factories shipping to the Port of Yantian can promise 18-22 business days for die-cutting, sanding, and UV spot varnish (after artwork approval), but only if the inbound carton and adhesive are pre-approved with the converter's ERP system. Istanbul, with its proximity to Eastern European retailers, typically targets 20-25 business days because the dies are produced locally on a Zünd digital cutter before being sent to a finishing line that handles foil and embossing. Ho Chi Minh City and Dhaka production hubs usually take 22-26 business days when adhesives cure for the required 72-hour wrinkle test in humid conditions.
Machines matter. A Korean-made flexo printer with inline UV LED curing gives sharper color than a domestic flatbed press, but the operator has to set the anilox roll precisely for the board weight. A Komori sheet-fed unit with a vacuum feeder can reduce misfeeds. The die-cutting cells should have pile turners, and the creasing section must be calibrated so the board doesn’t crack at the fold. We run regular gauge checks on the creasing matrix and add a sample inspection sheet to every order so the brand can verify critical dimensions without visiting the plant.
Sampling is not optional. Solid samples arrive in 2-3 weeks from Guangzhou or Istanbul when you pay for express air freight. Revisions unlock the stop-and-start delays brands dread; one extra round of approvals can add 8-10 business days. That is why I push for mock-ups using the actual final substrate and adhesives plus a note on the sample that says “approved for line #3, 4, and 7 only.”
Presentation is not just about color. It is about consistency and compliance. Buyers expect the same Pantone on the insert as on the hang tag, especially when the brand uses OEKO-TEX Standard 100 or GOTS certified materials on the garment. We specify the Pantone, grip, and dot gain for both print and coating machines. Brands often forget to update the print file when they switch ink suppliers, which can cause offsets of two or more L*a*b points when the print operator shifts from solvent to water-based inks.
Branding details like embossing, foil, and debossing should align with material choices. A soft-touch laminated insert can handle a delicate blind deboss, while a rough kraft insert needs a deeper engraving to stay legible. UV spot varnish can highlight the logo, but it needs to be compatible with the certification claims—WRAP-certified factories and GRS-compliant mills track which additives they use so the brand can prove every step meets the sustainability benchmark. I always request a compliance sheet showing the additive, binder, and release solvent from the supplier on file.
Think about tactile cues. Raised inks, linen embossing, and micro-slit tabs echo the same care invested in the garment. A chamfered edge that the operator creates on a CNC router before the die cuts the insert creates a soft hand feel, while a center perforation allows the insert to be removed easily without tearing the outer lid. That sensation matters more than the gloss level because it is the last physical contact before the garment is revealed.
Don’t forget regulatory compliance. Countries like the UK and EU are increasingly asking for proof of recyclability labeling, adhesives, and print additives. A quality partner will provide certificates of compliance for OEKO-TEX, GOTS, WRAP, BSCI, and GRS when requested. If the insert is destined for the Middle East or Africa, ensure the inks meet CIS 2 standards or are halal-approved. Istanbul converters often stock these inks due to their proximity to these markets.
Start with a tech pack that includes annotated dielines, materials, adhesives, and tolerances. Reference the exact board stock—say, 450 GSM SBS with a 400 mu matte aqueous coating—and note whether the insert needs hot-melt glue, a double-sided tape, or a mechanical tab. Share the target weight of the finished insert so the converter can plan mechanical handling. Mention which machines you prefer, like the Heidelberg CX 102 for die cutting and the Zünd G3 Digital Cutter for prototyping, so the supplier checks compatibility before quoting.
Demand a first-article sample. Have the supplier send a photo and measurement report of the insert mounted inside the carton before you green-light the full run. If a piece of hardware like a small tray or adhesive wedge is used, include a small sample of that component so the plant can match the color, texture, and cure time. When the sample arrives, confirm the tabs survive a 10-cycle compression test and that the surface finish doesn’t show streaking under a 500-lux light.
Document the approval. Use a shared folder or software that records the sample version, date, and inspector’s initials. If the sample is approved for production, the supplier should mark the die with that version number and the run date. That way, if you revisit the program six months later in Dhaka, the factory knows exactly which die and print spec to reload.
Skipping tolerance checks. Smaller teams cut corners on mockups and end up with inserts that jam in the box or slide during transit. This leads to rework and even plastic wrap to hold items in place—exactly what the sustainability claim was trying to avoid.
Choosing fanciful finishes without verifying recyclability. Glossy varnishes, latex coatings, and PVC laminates may look great, but they can break a GOTS or OEKO-TEX Standard 100 label if the chemical formulations are not compatible. Always ask for the Material Safety Data Sheet (MSDS) and compatibility declarations.
Overcomplex folding. Inserts that require more than two creases or too many tabs add assembly time, which increases per-unit labor and adds to waste. Keep designs simple. A well-placed diagonal slot can do what a multi-tab cradle tried to do, with fewer steps and less risk of failure.
Not auditing secondary suppliers. Many brands audit the garment line but never check the packaging vendor. A converter in Istanbul once used a subcontracted hot stamp supplier whose foil contained heavy metals, which nearly voided the GRS claim on the finished insert. Do your homework, especially when the insert touches the garment in the same box.