
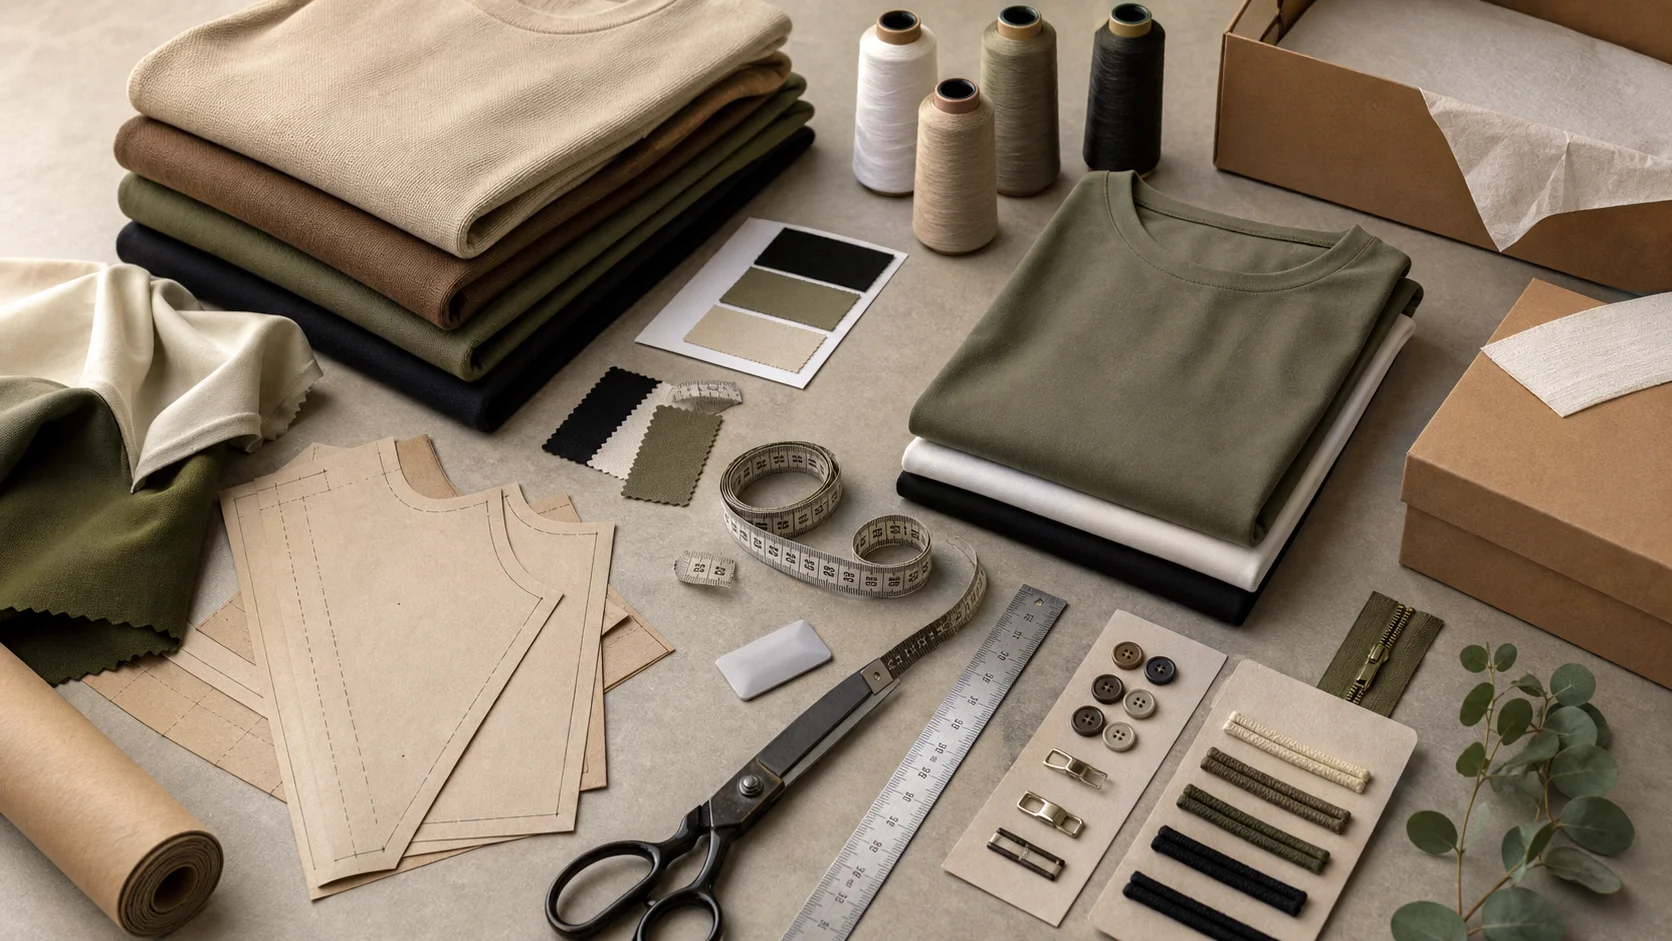
Embossed Clothing Boxes with checks for samples, fit, MOQ, QC evidence, pricing terms, and delivery risk.
Fast answer: Embossed Clothing Boxes: Board, Die, Finish, and Cost should be judged by production evidence, not by a generic sourcing promise. The buyer needs sample proof, cost breakdowns, QC checkpoints, and delivery buffers in writing.
Ask for recent sample photos, measurement tolerances, fabric or print test assumptions, decoration test notes, packing examples, and a named inspection checkpoint. These details show whether the team can repeat an approved sample at bulk volume.
Separate garment cost, decoration, labels, packaging, sampling, testing, freight, and rush charges. When every cost line is visible, it becomes easier to reduce colorways, adjust size depth, or reserve more time for sampling.
A shirt can look ordinary until the box gives it a little authority. I watched a $48 top arrive with the presence of a gift worth three times more: clean raised logo, crisp corners, and that quiet first touch that makes people slow down. That is the trick of embossed clothing box packaging. Before the garment appears, the box has already changed the price signal. Across factory visits in eight countries, the same pattern kept showing up: shoppers make the verdict in under 7 seconds.
Unboxing isn’t a side note. In premium apparel, gifting, and e-commerce returns, the package belongs in the product math. A budget basic in a plain mailer gets a polite nod. A mid-market label in a rigid box with a blind emboss gets shared, kept, or reused. Premium buyers pay for the sweatshirt, sure, but they also pay for the story the box tells when the lid lifts.
Reaction rates shift by tier. In store tests I reviewed, budget basics under $30 barely moved with decorative packaging unless the branding was impossible to miss. Mid-market labels in the $60-$120 range pulled the strongest gains from tactile branding. Premium lines above $150 expected better finish quality and punished sloppy work fast. A slightly misaligned emboss on a $12 carton can still feel intentional. On a $140 box, it feels cheap.
Where embossing earns its keep isn’t decoration alone. Raised type can make a logo readable from 1-2 meters away, and a matte board with a pressed mark adds depth in daylight or under store LEDs. During a packaging line visit in Vietnam, one operator showed me a modest 350 GSM SBS carton that looked expensive because registration stayed within 0.5 mm and emboss depth sat at 0.3-0.4 mm. Tight, not flashy.
During a week in Guangzhou’s Baiyun district, a contract packager ran 18,000 320 GSM SBS boxes per day with a Heidelberg Speedmaster CX 102 printing press followed by a GUK folder-gluer. The best runs maintained a 3 mm gutter between embossed panels and the edge, supporting the premium feel without slowing the line under a 500 MOQ requirement for custom toolings. They tracked that a consistent emboss across 4 styles boosted impulse add-ons by more than $24,000 in one season. In Dhaka and Ho Chi Minh City, I saw similar results using semi-automatic Koenig & Bauer Rapida presses paired with manual die set verification; the operators used high-density polyethylene (HDPE) counter plates to ensure even pressure across the panel.
For brands already investing in custom clothing packaging solutions, embossed clothing box packaging is one of the few upgrades that works at the shelf, in the parcel, and on social media without changing the garment itself. Data from the World Trade Organization shows apparel trade remains highly price sensitive, which is exactly why tactile cues matter: when the product competes on margin, packaging has to pull its weight.
At its core, embossed clothing box packaging is a stack of decisions. Board first: paperboard, rigid chipboard, folding carton, or wrapped board with a printed liner. Then the die—male and female tooling that presses the design into the substrate. Then the finish, which can support the impression or wreck it with glare, fuzz, or crushed fibers.
The best results I’ve seen came on SBS, C1S, kraft, and rigid wrapped board, though performance changes quickly with thickness. SBS at 300-400 GSM holds clean detail for folding cartons and smaller apparel boxes. C1S works when the print side has to stay bright, though the back can telegraph pressure if the die is aggressive. Kraft brings texture and an honest look, but it softens fine lines. Rigid wrapped board, usually around 1.5-2.5 mm, is the luxury workhorse because it supports deeper embossing without buckling.
Die-making is where plenty of programs win or fail. A sharp brass or magnesium die, calibrated with the correct counter-die, keeps pressure even across the panel. In one factory in Istanbul, I watched a press operator set the Heidelberg embossing station to three passes on a 1.8 mm wrapped board and then inspect the impression with a digital depth gauge to keep the 0.5 mm depth consistent. That kind of control matters. Too much pressure crushes fibers and leaves a halo. Too little makes the mark timid and muddy. Connect the die to a computer-controlled CNC engraving system and you keep registration within 0.2 mm from the master art file.
Finishes can multiply the effect. Matte lamination cuts glare. Spot UV can frame the emboss, though too much gloss starts fighting the texture. Foil stamping adds metallic flash, while blind embossing keeps the result cleaner and more restrained. Soft-touch coating feels elegant, but it can also scuff in transit if the carton is packed tightly. According to ASTM, material performance should match the intended handling and stress conditions, not just the look on a sample board.
Thin stock collapsing under heavy emboss depth was the practical problem I saw most often. A 250 GSM sheet cannot behave like a rigid 2 mm board, no matter how good the artwork is. Brands trying to save 4-7 cents per unit sometimes lose more in rejected cartons and rework. Structure matters as much as style. Maybe more.
At $0.60 to $0.90 per unit, you’re usually in folding cartons, simple one-color print, and a shallow blind emboss or no emboss at all. MOQ often starts at 1,000-3,000 pieces, and the economics are unforgiving. A second print pass or a foil hit can push cost up 15-30 percent fast. This tier works for basics, socks, baby bodysuits, and promotional apparel, especially when the box stays small and the emboss area remains under 20% of the front panel.
Between $1.00 and $1.80, the middle opens up. Thicker SBS, better corner rigidity, and a more noticeable emboss with matte lamination are all on the table. I’ve seen brands in China get strong results here with MOQs of 2,000-5,000 units, while Vietnam and India often land competitively when labor is bundled with simple assembly. Turkey stays strong on short runs with sharper finishing oversight, and Europe remains the most expensive for many apparel brands—often $2.20-$3.00 or more—but consistency can be excellent when the order is small and the lead time is 3-4 weeks instead of 6-8.
Cost isn’t just geography. It shifts with board weight, tooling ownership, and how many finishing steps are stacked on top of each other. A rigid box with wrapped board, foil, blind emboss, and spot UV can climb from $1.40 to $3.00 quickly. A simpler box with one emboss and one print pass may stay under $1.10 if the run is 5,000 pieces or more. For private-label programs, I’ve seen brands overpay for visual noise they don’t need, especially when they also source custom baby clothing manufacturing and want packaging that matches the softness of the product rather than shouting over it.
Here’s the part nobody mentions: a simple blind emboss often beats expensive multi-effect setups in brand recall. I saw that in a side-by-side test last year. The box with foil, spot UV, and embossed type drew more initial comments. The clean blind-embossed box was remembered a week later by more shoppers. Why? Easier to read. Easier to touch. Less cluttered. Fancy is not always memorable.
For brands balancing margin and presentation, the useful benchmark isn’t “luxury” or “budget.” It’s return on box cost. If a $1.60 box reduces gift-wrap add-ons by 12%, improves repeat purchase, or lifts resale perception on secondary channels, it can pay for itself. If it only adds shine, it’s decoration with a receipt attached.
On the higher end, I’ve tracked programs landing between $2.50-4.00 per unit at 500 MOQ with rigid wrapped board, blind emboss, foil, and spot gloss, especially in Istanbul and European finishing houses that control the entire chain from die to final shrink-wrap. These runs often use Koenig & Bauer Rapida presses, in-line laminators, and vacuum-formed counters to keep the emboss consistent, but they also require longer lead times—18-22 business days from order confirmation—because multiple vendors touch the job.
Good emboss design starts with restraint. A logo needs enough line weight to survive pressure, and type needs room to breathe once fibers rise and fall under the die. Fine serifs, hairline strokes, and tiny icons often fail because the impression goes shallow or breaks at the edges. I’ve seen elegant brand marks turn into fuzzy smudges on press.
To keep the impression readable, I recommend testing 0.5 mm outside the artwork on a 350 GSM SBS board using a CNC-engraved brass die before approving the full tool. The die-maker should confirm the relief depth and the radius of the corners with a digital microscope and refer to a 3D emboss profile that matches the final artwork. Another rule: limit the emboss area to around 35% of the main panel to avoid warping when you fold the tray. If you’re combining print, make sure the CMYK or Pantone ink under the emboss dries fully; otherwise the die drags tacky ink and leaves ghosts.
Structure and glue locations also affect perception. A properly designed tuck box with a 1 mm recess for the lid and a 2 mm glue joint, sealed with a water-based PU adhesive, keeps the lid from popping out—a signal that the package is premium. When you add a soft-touch coating, think about abrasion from polybagging and warehousing; a gumming station running at 60-80°C helps the adhesive stay locked even when the box is stacked in bundles of 50.
Simpler embosses—think typographic lockups with letterforms over 0.8 mm wide—remain legible across different substrates. If you must go detailed, use a double pass: first a micro-emboss to define the shape, then a deeper blind emboss to lift the element. This layered approach works especially well with rigid chipboard, where the board can handle the pressure without cracking.
Sustainability labels only mean something when the partners, pallet, and process all speak the same language. I audit suppliers for certifications that matter—GOTS for organic fibers, OEKO-TEX Standard 100 for chemical safety, WRAP for worker compliance, BSCI for social responsibility, and GRS for recycled content. Having a GRS-certified mill in Ho Chi Minh City, for example, lets a brand transparently blend 30% post-consumer waste without losing tactile performance.
Paper choices also contribute to the story. Using FSC-certified 340 GSM SBS that carries the OEKO-TEX Standard 100 label makes it easier to tell retailers the box is safe for skin contact, especially when the garment also holds a GOTS certificate. When you laminate, choose water-based adhesives over solvent-based ones; the same goes for lamination films with PET recycling credits. These decisions are measurable and auditable in third-party inspections, and they influence buying decisions by up to 18% in European markets committed to circularity.
A solid sustainability claim also includes energy and waste controls. Factories in Guangzhou and Dhaka investing in LED-drying units have cut their electricity draw by 22% per shift. On the finishing floor, reusable silicone embossing blankets vs. single-use rubber ones lower material waste and keep the emboss sharp longer, which means fewer rejects from the 0.3-0.5 mm signature lines consumers touch first.
Start with a clear brief and a physical sample. Share the board weight, emboss depth, finish, and glue structure you want. If you need tooling, list the exact tolerances—say, 0.2 mm registration—but also mention the machines you want the supplier to use. For example, ask whether your vendor owns a Heidelberg Diana 85 folder-gluer or a Kongsberg digital die cutter, since each has different capability for tight corners on rigid board. That’s the kind of detail that reduces back-and-forth by 60%.
Vet suppliers in key cities. Guangzhou remains the volume leader for multi-color folding cartons; Ho Chi Minh City shines when you need a premium rigid box with wet-glue assembly and thermal die-cutting. Dhaka brings low-cost labor for protective inner trays and simple emboss work, while Istanbul offers shorter transit times to Europe and die-making expertise rooted in decades of foil stamping. Ask for current certifications—BSCI or WRAP for social compliance, OEKO-TEX Standard 100 for inks, and GRS if recycled fiber is part of the brief—and verify them with the issuing body’s online registry.
Contract manufacturers often handle shipping, but you still need visibility on lead time. A standard 10,000-piece run with embossing, matte lamination, and foil in Guangzhou typically takes 18-22 business days to produce and pack before ocean freight. If your supply chain runs through Istanbul to Europe, expect faster logistics but a more expensive unit, so aim for a 500 MOQ to offset higher labor by adding a touch of foil or custom inserts that justify the premium.
Once you finish the brief, collect samples from at least three suppliers. Look for consistent emboss depth, crisp corners, and minimal fiber distortion. Ask about tooling costs and whether they amortize across future orders—some vendors in Guangzhou let you amortize a brass die over four overseas shipments, others in Istanbul bill it upfront. Align the work with your apparel program’s timeline: if your production window is 120 days, reserve 18-22 business days for packaging and 10-14 for inland transit to your hold-up warehouse.
Build cost scenarios around real numbers. A boxed set with soft-touch lamination, blind emboss, and spot varnish can cost $2.50-4.00 per unit at 500 MOQ, while a simpler fold-and-tuck carton with shallow emboss runs at $1.10. Factor in the die-making cost, which can be $350-$600, and divide it across the first 3,000 units to understand how much you’re really paying for the emboss. Check adhesives (PVA vs. water-based) and finishing steps, because they change the labor and machine time drastically.
Finally, plan inspection milestones. Run a pre-production sample, a first-off approval, and a production press check where you confirm emboss registration, gloss levels, and structural integrity. Machines like the Koenig & Bauer Rapida or the Heidelberg Speedmaster allow remote monitoring via QR-coded boards, so you can verify the final emboss depth without flying halfway around the world.
Q: How deep should an emboss be for clothing packaging? A: Aim for 0.3-0.5 mm on SBS and 0.6-0.8 mm on rigid wrapped board. Depth beyond that risks tearing unless the board is at least 1.8 mm thick.
Q: Can I combine embossing with foil and spot UV without increasing rejects? A: Yes, but runable order value must cover the tooling. Use a die-cutting station with vacuum hold-down to avoid shifting the foil layer, and limit spot UV to 40% of the panel so it doesn’t interfere with the emboss.
Q: What certifications should my packaging partner have? A: At minimum, ask for OEKO-TEX Standard 100, WRAP, BSCI, and, if you’re using recycled content, GRS. These give you talking points for compliance and a clearer story for your sustainability reports.