
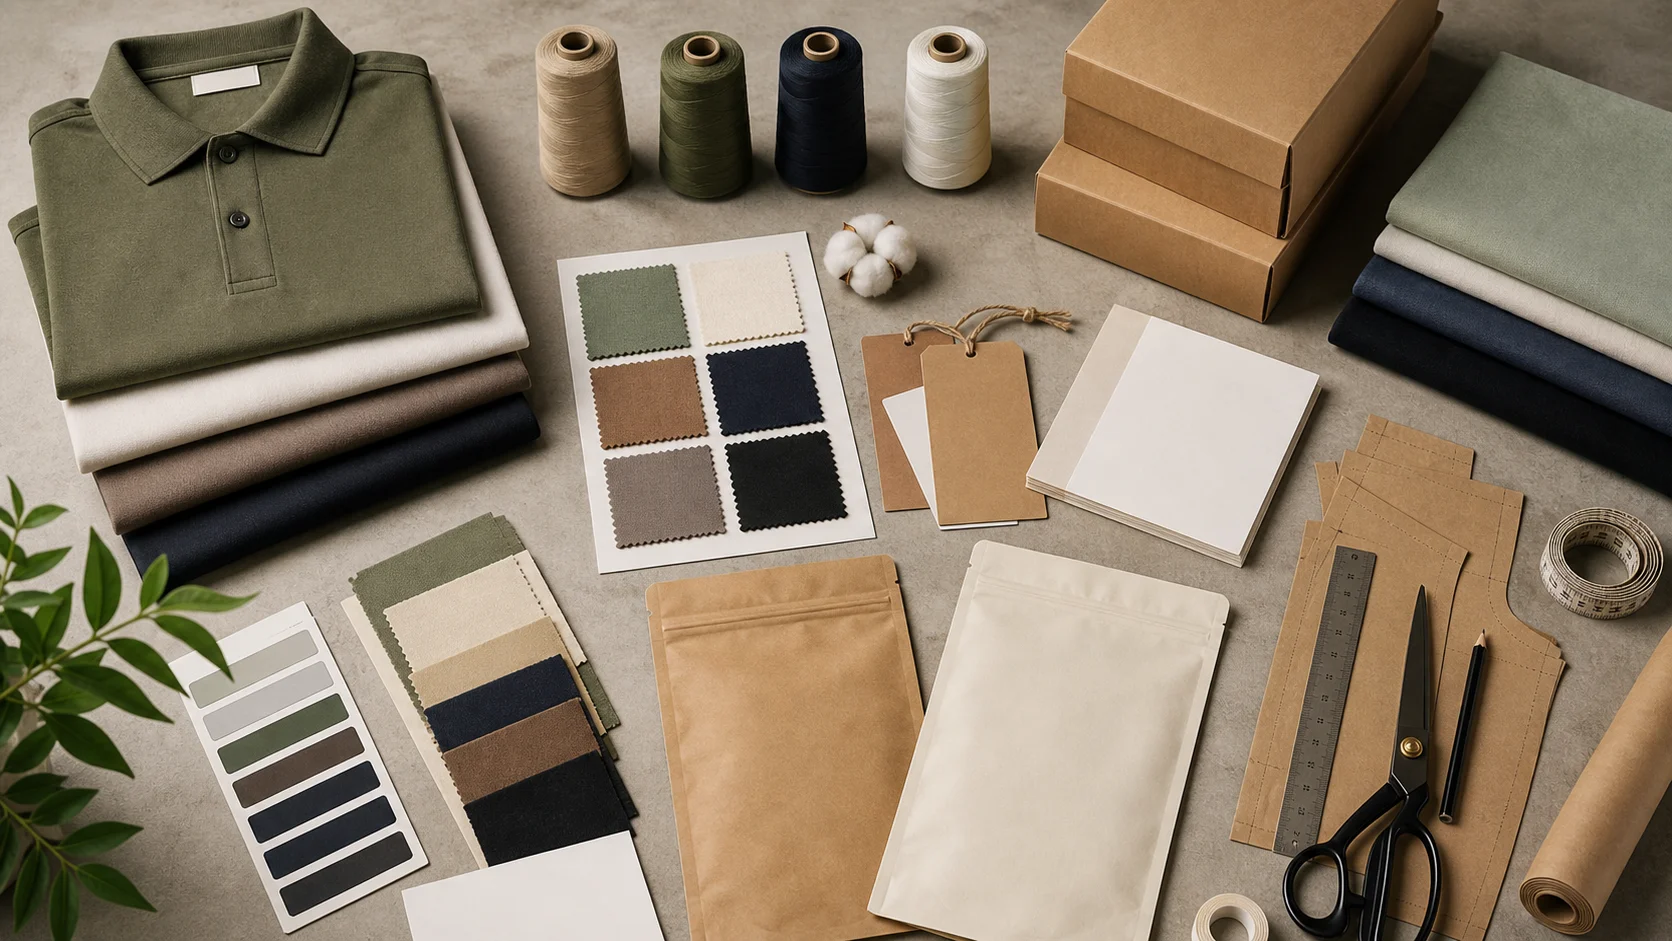
Add Care Instructions to Hang Tags compared by sample evidence, fabric or trim specs, MOQ, AQL terms, cost lines, delivery timing, and rework responsibility.
Fast answer: Add Care Instructions to Hang Tags: Material, Print, MOQ, and QC Terms should be judged by production evidence, not by a generic sourcing promise. The buyer needs sample proof, cost breakdowns, QC checkpoints, and delivery buffers in writing.
Ask for recent sample photos, measurement tolerances, fabric or print test assumptions, decoration test notes, packing examples, and a named inspection checkpoint. These details show whether the team can repeat an approved sample at bulk volume.
Separate garment cost, decoration, labels, packaging, sampling, testing, freight, and rush charges. Clear cost lines make it easier to reduce colorways, adjust size depth, or reserve more time for sampling.
Care copy is the quiet detail that protects margin. If you're researching how to add care instructions to hang tags, start with this: shoppers read the hang tag before they ever touch the washing machine. In one mid-market apparel program I reviewed, returns tied to washing confusion, shrinkage, or color bleed made up 11% of avoidable claims across 48,000 units. The tag copy was the weak link. A $0.06 printing decision once triggered $18,000 in chargebacks on a viscose dress labeled “hand wash cold” on the hang tag and “dry clean only” on the sewn-in label. That mismatch cost more than the tags.
So, how to add care instructions to hang tags without creating a mess? Start with the part shoppers actually keep reading. The hang tag is often the first thing a buyer studies in-store and the last scrap of paper still attached when the garment reaches the laundry room. Sewn-in labels get cut out, hidden, or ignored. Hang tags tend to survive longer because people save them for sizing, gifting, resale, or plain forgetfulness. Second chance, right there.
When I visited factories in Bangladesh, Portugal, Vietnam, and Turkey, the differences were sharp. In Dhaka, budget brands often worked from a single bilingual template, squeezing 3 or 4 care lines into a 50 x 90 mm tag. In Porto, premium mills were far more disciplined: one icon row, one language line, and fiber warnings matched to wool, linen, or plated knits. Vietnam produced separate versions for US, EU, and Japanese retail accounts, usually with 2 to 5 text adjustments. In Turkey, mid-tier brands often asked for heavier board—350 to 400 gsm—because the tag had to survive warehouse handling and repeated shopper touch. Whether you are working with a manufacturer, factory, supplier, or a China-based production partner, the same rule applies: the message has to be clear and durable.
Low-cost garments still need precise instructions. A $7 T-shirt made from 180 gsm cotton can shrink 6% if someone uses hot water and high heat drying. A $14 polyester-blend trouser can pill if the tag skips “wash inside out.” Price point does not reduce the need for accuracy; it raises the need for clarity because customers expect less damage but often get less guidance.
I've seen the same pattern in 200-plus factory visits: brands that treat care copy as paperwork pay for it later in refunds, angry emails, and damaged repeat purchase rates. Brands that use the tag to spell out care plainly tend to see fewer complaints, fewer customer-service tickets, and stronger credibility at the shelf. If your pack already carries brand story and barcode data, give care data a real job. It earns the space.
Space is the enemy, but chaos is worse. The cleanest tag hierarchy starts with the garment name, then size, then price or SKU, then the care block. On a 60 x 100 mm tag, I usually recommend a 4-line structure: wash, bleach, dry, iron. That leaves room for 1 or 2 icons, a small fiber note, and a QR code if the brand insists on digital detail. Anything longer becomes a wall of microtype.
The core content is not negotiable. If you are figuring out how to add care instructions to hang tags, the essentials are wash temperature, bleach guidance, drying method, ironing limits, dry-clean symbols, and a fiber-specific warning where needed. “Machine wash cold, 30°C. Do not bleach. Line dry. Cool iron. Do not dry clean.” Short. Five commands. Easy to scan in 2 seconds. For wool, silk, elastane, or coated textiles, add one more line: “Reshape while damp,” “Use mild detergent,” or “Do not wring.”
Legibility is where many brands blow it. I’ve tested tags in store lighting at 350 lux and in warehouse handling under 100 lux, and dark gray type on black card disappears fast. Use at least 7 pt for body copy on small tags, 9 pt if you can spare it. Keep icon spacing generous. If symbols touch, customers read them as decoration, not instruction. A 1.5 mm gap between icons and text may sound fussy, but it improves comprehension in real use.
Format should follow product type. A single garment tag can carry 5 care points and a QR link. A multipack needs a shared instruction panel with 2 or 3 exceptions, such as “wash with like colors.” Luxury items often work best with a folded insert inside a rigid tag, because the brand wants a cleaner face and 2-sided information. Children’s wear benefits from blunt language and bigger symbols; parents are reading fast while juggling a cart, a stroller, and a child.
For brands that want broader clothing packaging solutions, care copy should still behave like packaging, not a legal appendix. Line breaks. Symbol hierarchy. White space enough that a shopper can find the drying method without hunting through a paragraph.
Paper choice shapes both perception and durability. Coated stock gives sharper type and better color definition, which helps when a tag carries 6 symbols or a thin sans-serif font. Uncoated paper feels warmer and reads more naturally, but it smudges sooner in humid stockrooms. Recycled board works well for eco-minded brands, though I’ve seen cheaper recycled sheets warp after 2 weeks in transit if the carton sat in a damp container. FSC-certified paper can solve the sourcing question, but it does not automatically solve print quality. The substrate still matters.
For wash-care tags on frequently worn items, synthetic materials can make sense. A polypropylene or PET tag resists moisture better than paper, especially on activewear, swim, or outerwear that may be handled 20 to 30 times before sale. The trade-off is feel. Some premium buyers dislike plastic, and some recyclers do too. A coated 350 gsm FSC board with a matte varnish often gives the better balance for fashion brands selling at $25 to $120 retail. For wholesale and bulk programs, that balance is often what keeps quality consistent without pushing MOQ costs too high.
Print method changes the economics. Digital printing is usually the fastest route for runs of 500 to 2,000 pieces, with setup costs around $0 to $150 and a good fit for variable data. Offset becomes more efficient at 5,000 to 50,000 pieces, especially if the tag uses 2 Pantone colors and a clean care panel. Thermal transfer is useful for variable barcodes or batch labels, but it is not my first choice for a premium garment tag because the finish can look too functional. cut and sew manufacturing partners often prefer the print method to match the garment program, not just the tag budget.
Finishes matter more than agencies admit. Matte varnish reduces glare and protects the text. Soft-touch coating feels luxurious, but it can scuff faster at the corners. Spot UV looks polished on the front, yet it can make small care lines harder to read if it catches the light. No coating keeps recyclability simple and often reads best for high-contrast black-on-white instructions. In factory visits, I noticed that tags with a plain matte finish and 2-color print stayed legible after 8 to 10 handling touches, while heavily decorated tags started showing edge wear almost immediately.
Rules are not identical across markets, and brands that assume one global template often pay for reprints. In the US, care content is driven by Federal Trade Commission expectations and the need for truthful fiber disclosure. In the EU and UK, fiber composition, language, and symbol use become more market-specific, especially when retailers demand local-language support. Asia-Pacific requirements vary by country, but the common thread is simple: if the buyer cannot understand the care message, the brand owns the risk.
According to AATCC, standardized care symbols and clear testing references reduce ambiguity across product categories. That matters when the same hoodie is sold in 3 regions and priced at $28 in one market and $48 in another. I’ve watched brands rely on one English-only template for 12 countries, then scramble when a retailer in Germany asked for extra language lines and fiber percentages in a tighter format.
Fiber type changes the instruction set. Wool often needs shrink-control language and lower heat. Silk usually needs gentle cleaning and no bleach. Elastane blends dislike high heat and aggressive tumble drying. Coated textiles may require wiping rather than machine washing. Garments that should not be machine washed need blunt wording, not polite suggestions. “Do not machine wash” is clearer than “avoid machine washing,” and shoppers respond better to direct language.
Retailer compliance adds another layer. Some chains require care symbols aligned to ISO or locally recognized equivalents, plus a translated care panel and country-of-origin disclosure. A UK buyer may ask for wording that differs slightly from a US account, even if the fabric is identical.
Before the first production run, I insist on a legal review, a translation review, and symbol verification. Check 3 things: the care copy matches the fabric test report, the language lines match the destination market, and the icons match the written instructions exactly. One small mismatch can become a whole container problem.
For programs built around sustainable sourcing, it also helps to align label language with external standards such as Textile Exchange and eco-focused testing references from OEKO-TEX. Those references do not replace legal review, but they support better quality decisions during development.
Costs look tiny until volume exposes them. A plain hang tag at 500 pieces may run $0.18 to $0.45 each in simple board, while a printed care card can land at $0.28 to $0.75 depending on size, coating, and 2-color print. Folded inserts tend to sit around $0.40 to $1.10 at low volume because folding and gluing add labor. QR-linked digital instructions can be cheap on paper, but design, hosting, and content maintenance still cost money.
At 5,000 pieces, the unit price changes fast. A simple care tag might drop to $0.08 to $0.22, with setup fees of $40 to $180. Offset plates can add $60 to $300 per design, but spread across volume they become manageable. At 50,000 pieces, the tag itself may fall below $0.05, especially if the design uses 1 or 2 inks and a standard die-line. What drives cost upward is not the care line. It is the embellishment.
Brands overspend in predictable ways. They use 4 inks when 1 black plus 1 spot color would do. They choose oversized stocks that add grams but not clarity. They specify custom die-cuts that slow production by 3 to 5 days. They add foil, embossing, or thick lamination to a care tag that no one is meant to admire. That money could buy better fiber testing or a stronger content review.
The thing nobody tells you: simple, high-contrast tags often perform better in stores and after purchase than expensive embellished versions. I saw this in Turkey on two runs of identical knit tops. The version with a plain white tag, black type, and 2 icons had fewer customer questions than the soft-touch, foil-stamped version because people could read the washing temperature in under 3 seconds. Fancy is not the same as effective.
If your brand sits between $20 and $80 retail, the smartest spend is usually a clean care panel paired with private label clothing services that keep the art file stable from sample to bulk. That prevents rework, which is where small budgets go to die.
The workflow should be boring. Boring saves money. I start with a brief that names the garment, market, fabric, and required tone. Then the copy moves into artwork, pre-production sample, strike-off, bulk approval, and carton packing. Skip a stage, and the printer improvises. Improvisation is expensive.
Factories need specific files. Send final care copy in editable text, not a screenshot. Include symbol references, dielines, Pantone targets, and translation-approved versions for each market. If the tag will be 55 x 90 mm in one season and 60 x 100 mm in the next, state that early. I’ve watched a 2 mm shift in dieline placement turn a perfectly usable tag into a cut-off mess during bulk.
Common failure points are predictable. Last-minute copy changes are the worst. A buyer swaps “cool iron” for “medium iron,” and suddenly the icon set is wrong, the translator must revisit 4 languages, and the printer needs a new strike-off. Symbol mismatches happen too, especially when a brand borrows a chart from an old supplier. Missing regional language lines are another classic error. A French market can’t be served by English plus icons alone if the retailer wants local wording.
Turnaround depends on method. Digital print may deliver samples in 2 to 4 days and bulk in 5 to 10 days once approved. Offset usually needs 7 to 12 days, partly because plates and setup add time. Foil or lamination can push the schedule by another 3 to 5 days. Yet approvals cause more delay than press time does. A factory can print 20,000 tags quickly, but if the buyer takes 6 days to approve a symbol correction, the carton leaves late anyway.
That is why many brands pair tag work with broader private label clothing services early in development, not after the sample is already in hand. The earlier the care copy is fixed, the fewer surprises in bulk. In China, for example, a supplier may move quickly on production, but the revision cycle still depends on clean sign-off and clear quality requirements.
When a team wants speed and control, I ask for one person to own copy approval, one to own visual approval, and one to own legal sign-off. Three owners, not ten. Anything else turns into email archaeology.
Start with a seven-step rollout. First, audit the current labels and return reasons. Second, write standardized care copy by fabric type and market. Third, match symbols to the textile and test the wording against actual wash risk. Fourth, confirm legal review. Fifth, choose the substrate and print method. Sixth, proof a physical sample. Seventh, release to production only after all 7 checks are signed off.
Then test it in real hands. I ask staff to read the tag in 5 seconds and repeat the washing instructions back to me. If they miss the drying rule, the tag is too crowded. I also show it to wholesale buyers and a small customer panel of 8 to 12 people. If 3 people ask the same question about ironing or bleach, the copy needs revision. Cheap test. Real signal.
Track what happens after launch. Watch return reasons for 30 to 90 days, and separate fit complaints from care complaints. Count customer-service tickets mentioning shrinkage, discoloration, or unclear washing instructions. If care-related complaints fall by 15% after a tag refresh, you have proof that the new format works. If they do not, the problem is probably copy, material, or placement, not the garment itself.
For brands that want a fast start, it helps to request a custom hang-tag quote and compare 2 or 3 tag constructions before committing to bulk. The cheapest option is not always the most economical once returns and reprints are counted.
Clarity beats decoration every time. A beautiful tag that fails on instruction is wasted paper; a clean one that tells the truth protects the garment, the customer, and the margin. If you still need a rule of thumb for how to add care instructions to hang tags, use this one: make the message short enough to read, sturdy enough to survive, and honest enough to save the sale.
Use a short care block with 4 to 5 lines: wash, bleach, dry, iron, and dry-clean if needed. Keep the font at 7 pt or larger, and use 1 or 2 icons only if they improve readability. A simple 60 x 100 mm tag is enough for most starter brands.
At 500 pieces, expect roughly $0.18 to $0.75 per tag depending on stock, finish, and print method. At 5,000 pieces, many brands see costs drop to $0.08 to $0.22 per tag. Setup fees, plate charges, and finishing choices matter more than the care copy itself.
Prioritize hierarchy. Put the garment name and size first, then place care copy in a compact block with clear line breaks and high contrast. Use white space, not more text, to make the layout feel premium. Dark type on light stock usually reads best in store lighting.
Digital print can take 5 to 10 days after approval, while offset often needs 7 to 12 days. Foil, lamination, or complex finishing can add 3 to 5 days. Approval delays usually slow delivery more than the printing itself.
You can use one base design, but the copy often needs market-specific edits for language, fiber disclosure, and retailer requirements. A universal template works best only if legal and translation teams review it before printing. For multi-market programs, plan on at least 2 to 3 versions.