
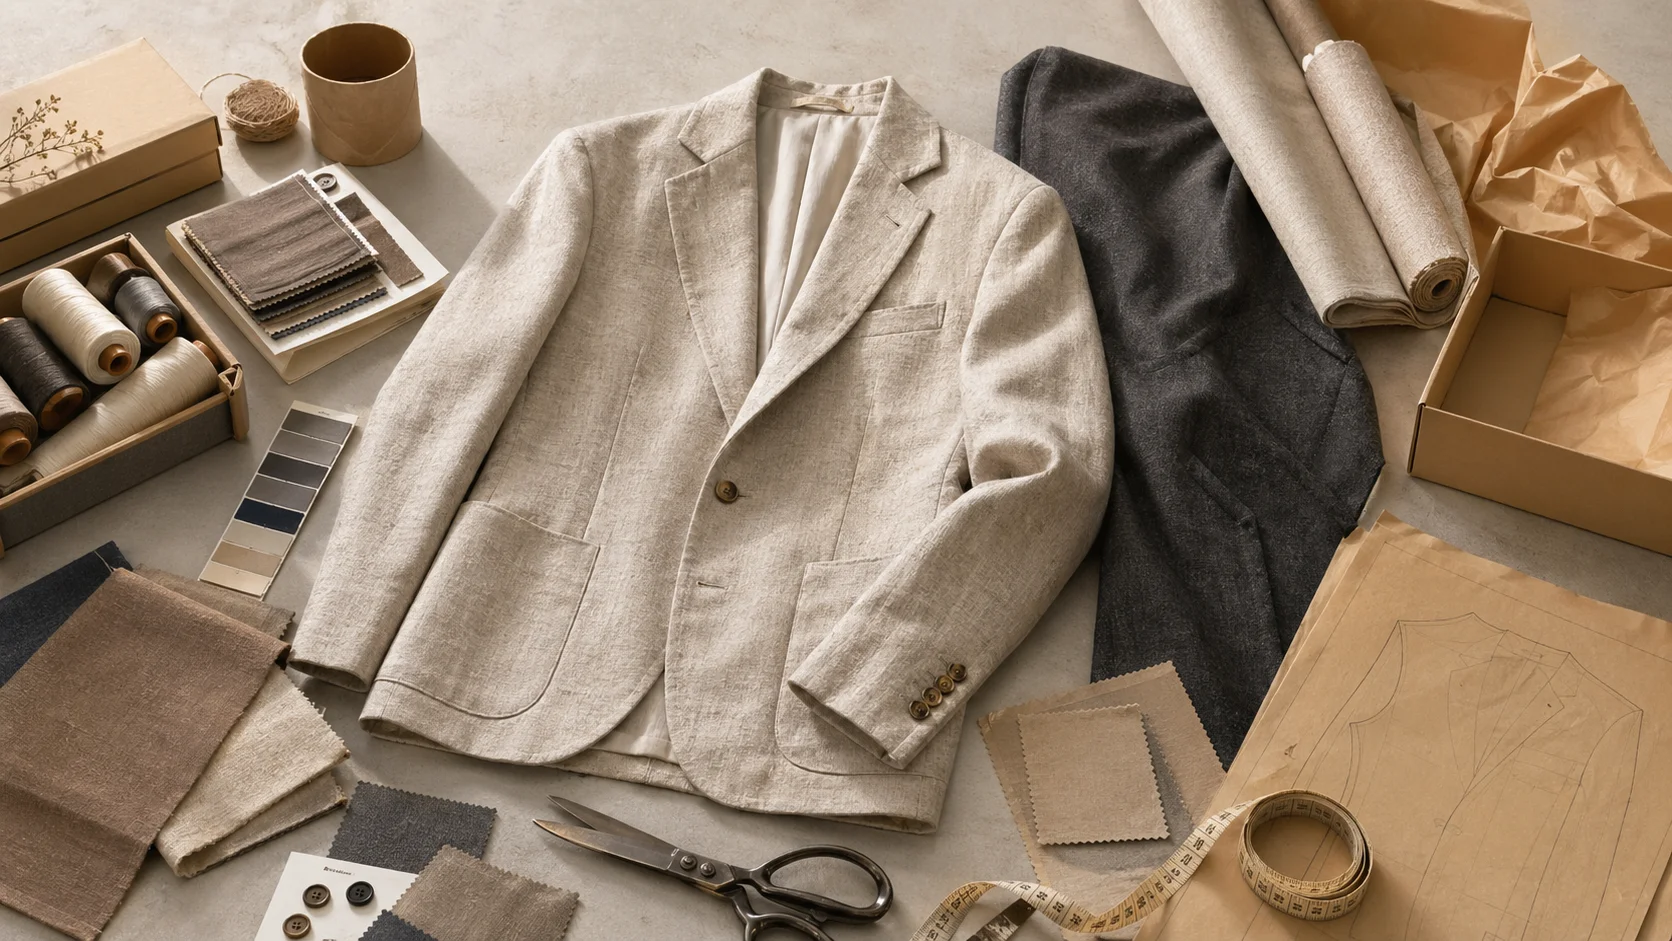
Design Branded Tissue Paper for Clothing compared by sample evidence, fabric or trim specs, MOQ, AQL terms, cost lines, delivery timing, and rework...
Fast answer: Design Branded Tissue Paper for Clothing: Tech Pack, Sample Gate, MOQ, and QC Terms should be judged by production evidence, not by a generic sourcing promise. The buyer needs sample proof, cost breakdowns, QC checkpoints, and delivery buffers in writing.
Ask for recent sample photos, measurement tolerances, fabric or print test assumptions, decoration test notes, packing examples, and a named inspection checkpoint. These details show whether the team can repeat an approved sample at bulk volume.
Separate garment cost, decoration, labels, packaging, sampling, testing, freight, and rush charges. Clear cost lines make it easier to reduce colorways, adjust size depth, or reserve more time for sampling.
A single sheet of tissue can tip a buyer’s judgment before they ever touch the garment. If you are learning how to design branded tissue paper for clothing, this is the quiet little detail that can do more than a heavier box ever will. I’ve watched it happen in boutiques, warehouse clubs, and DTC fulfillment rooms. The reason is simple: tissue signals care at a cost of cents, not dollars. In Guangzhou's Huangpu district I watched a flexo line with a Bobst Masterfold 102 printing onto a GRS-certified 21gsm roll before a Valliant winder converted it into 12-inch sheets, and the rhythm of that press made clear why the smallest fold can feel purposeful. And yet, most teams stare at box specs and miss it.
In Europe, luxury boutiques still lean on white or ivory tissue, 15- to 17-inch folds, and restrained logos. The expectation is ceremony, not noise. In North America and Asia, fast-fashion e-commerce moves toward brighter prints and faster packing, often with 12- to 14-inch sheets and MOQs of 1,000 to 5,000 sheets. And the spend differs sharply too. A rigid box can add $2.50-4.00 per unit at 500 MOQ when produced in Istanbul or through a Dhaka turnkey line, while branded tissue often lands below $0.12 to $0.35 a sheet in meaningful volumes punched out of 100% GOTS-certified pulp. A Ho Chi Minh City converter told me their standard lead time is 18-22 business days from artwork approval to finished rolls, which is why planners keep a cushion on the calendar.
Portugal. Vietnam. Same lesson. But the lesson is obvious. In Guangzhou, Dhaka, Ho Chi Minh City, and Istanbul the most expensive-looking packaging was not always the most effective. Simple tissue with crisp registration, two-color printing, and a clean fold outperformed elaborate wraps when the print quality was high, the sheet count stayed consistent, and the raw stock had been hydropulped, screened for low lint, and calendered on a Voith Supernova line. Overdesigned patterns failed under creases. A modest repeat, printed well with a Pantone mix on a flexo press and finished with a soft-touch coating, looked more premium than a dense pattern with muddy edges.
That matters because tissue does several jobs at once. It protects trims from abrasion, reduces scuff marks on dark knits, and gives customers a visual pause before the product appears. And it also helps with returns management; garments repacked in branded tissue are easier to restock, easier to photograph for resale, and more likely to be remembered in a second purchase. Social shares rise when the unboxing is clean, but not theatrical.
Luxury brands and mass-market brands use the same tool for different ends. The luxury side uses restraint to reinforce price. The mass-market side uses consistency to reinforce trust. Both are right. The mills we approve in Dhaka and Guangzhou hold GOTS, OEKO-TEX Standard 100, WRAP, BSCI, and GRS certifications, so the fiber claims on the tissue align with the claims on the garments. And the mistake is assuming tissue is just decoration. It is a value cue, a handling layer, and a memory device. In apparel, those are three separate jobs, and one sheet can cover all three if the print and paper are chosen with discipline.
The first decision is not color. It is purpose. But even that firm start gets forgotten when crews chase bolder palettes. I start every project by asking whether the tissue must protect, present, or do both. A lingerie label shipping silk blends needs more opacity and gentler handling than a streetwear brand packing French terry 320 GSM hoodies. For custom bra manufacturing, fragile elastics and hook-and-eye hardware make the tissue a buffer. For heavier menswear, it is often mostly presentation. We often specify 100% certified eucalyptus pulp or 30% recycled cotton fiber with a soft calender finish for lingerie, while a heavier 24 gsm sheet with a mechanical crepe can meet the needs of athletic wear.
Brand signals should map to physical choices. A minimal brand with two core colors usually reads better through low-density repeats and generous white space. A bold direct-to-consumer label may need tighter pattern spacing, but only if the logo remains legible after three folds and one corner tuck. If the brand voice is clean, avoid clutter. And if the customer buys premium basics, a dense monogram printed on an OEKO-TEX Standard 100-certified sheet can feel expensive. If the customer buys outerwear, a looser repeat can feel more current.
Translating an existing logo system into tissue is harder than it sounds. Logos built for websites or hangtags often fail on paper because their strokes are too fine or the marks depend on gradients. I’ve seen a beautiful wordmark vanish once folded into a 10-by-14-inch wrap because the repeat ignored the seam line. And the fix is usually a simplified repeat tile, not a redesign of the whole brand. That keeps the tissue intentional across cuts, corners, and partial reveals.
Garment specifics matter. Dark fabrics can show lint more easily, so a smoother paper with lower fiber shedding helps. And delicate trims, sequins, and embroidery need softer wrap pressure. Inks and coatings must be checked for transfer, especially on pale cotton and viscose. I have rejected tissue samples that left a faint gray cast on white satin after 48 hours in a hot-box test at 40°C. The print looked fine on a table. It failed in real use. We try to test under both 65% and 85% relative humidity to replicate shipments from Guangzhou to California.
Some content belongs on the outer box, not on the tissue. Legal copy, fiber claims, and care instructions should stay outside. But tissue works best for visual identity, monograms, icons, pattern language, and light promotional lines. For a brand like private label clothing, that distinction matters because the packaging should support recognition without crowding the garment itself. I keep the tissue’s job narrow. Narrow jobs print better and cost less.
Production starts with file discipline. A factory-ready tissue file needs a repeat tile, often 12 by 12 inches or 18 by 24 inches, plus a safe zone of 0.125 to 0.25 inches on every side. Use vector artwork whenever possible. Minimum line weights should stay above 0.25 to 0.35 points for flexo, because thinner marks can break under pressure or disappear on porous stock. But if the tile is wrong, the whole roll looks amateur. The flexo plates we order for our Guangzhou and Istanbul partners run on a Komori or Heidelberg press and then go directly to a Bobst Masterfold plate cylinder, so the artwork must be nailed before burnishing.
Color count changes everything. One or two colors is realistic for most tissue methods and keeps the print sharp. Three colors is possible, but cost rises fast and registration risk increases. CMYK on tissue can work for some digital or sheet-fed jobs, but broad coverage often leads to show-through and dull edges. And Pantone solids are safer when the brand needs a precise tone, especially on ivory or natural kraft-like tissue. And dark artwork on thin paper can look heavy from the front and muddy from the back, so we often run a corona treatment before printing to improve ink adhesion.
Here’s what most people miss: a great pattern can fail because it disappears once the tissue is folded into retail packs. I’ve stood in factories where a 6-inch logo repeat looked perfect flat, then vanished inside a four-fold apparel wrap. The cure is simple. Build the artwork for the folded state, not the catalog mockup. Keep key marks near the center of the tile, then test them across two or three fold directions before approving the plate. And if the fold uses a tuck, add a small registration mark that lines up on the Bobst folder-gluer camera.
Use a checklist before sending files:
A strong brief makes the supplier's job narrower and the quote more reliable. For design branded tissue paper for clothing, include the target customer, sales channel, expected order quantity, size range, decoration needs, packaging requirements, and delivery market. Then call out the details most likely to affect the result, especially material grade, print tolerance, and barcode size.
The brief should also explain what cannot change. Some brands care most about hand feel, some about price, some about launch timing, and some about retail compliance. When those priorities are not written down, suppliers tend to optimize for whatever is easiest to quote. Clear priorities help the factory make better tradeoffs before the first sample is cut or printed.
Ask the supplier to respond with assumptions, not just a price. A useful reply states MOQ, sample route, production capacity, inspection plan, packing method, and freight handoff. If the answer is vague, the project may still work, but it needs a tighter pre-production stage before money and calendar pressure build up.
The best time to catch problems is before the pre-production sample is approved. Check measurements, color, placement, material behavior, shrinkage, construction, labels, and packaging in the same review instead of approving each item in isolation. Many bulk issues are not caused by one dramatic mistake; they come from several small unchecked assumptions.
For design branded tissue paper for clothing, pay special attention to folding method, pack-out sequence, and retail compliance. These details often look minor in an email but become expensive once cutting, printing, sewing, packing, or shipping begins. A simple checklist with owner, due date, and approval status keeps the brand team and factory aligned.
Bulk production should not start until the supplier can explain how the approved sample becomes a repeatable production standard. That means reference sample storage, line instructions, inline checks, final inspection, and defect handling. A factory that can describe this process clearly is usually safer than one that only promises speed.
Price differences are useful only when the quotes cover the same work. Compare sample cost, material source, trims, decoration, packaging, testing, inspection, and freight assumptions. A low unit price can become expensive if it excludes items the brand needs before launch.
Timeline promises deserve the same scrutiny. Ask what happens if the first sample needs revision, whether materials are in stock, when the production slot is reserved, and how export packing is handled. The most reliable supplier is often the one that gives a realistic calendar instead of the fastest optimistic answer.
Before making the final decision, write down the specification, approval owner, delivery expectation, and the one or two risks that would cause the most trouble if missed. For design branded tissue paper for clothing, this usually means checking material grade, print tolerance, barcode size, and the support process after the order is placed.
This last review does not need to be complicated. It simply makes the decision easier to repeat, easier to explain, and easier to verify when the finished product or jewelry arrives.
One useful way to pressure-test the decision is to ask what would happen if the order had to be repeated in six months. The answer should still be clear: the same material grade, the same print tolerance, the same acceptance standard, and the same communication path. If a second order would depend on memory or guesswork, the first order is not documented well enough yet.
Another useful check is to separate preference from requirement. Preference is the look, wording, or finish the brand likes. Requirement is the measurement, tolerance, certificate, material, or delivery condition that cannot fail. Good buying decisions keep both visible, so the final choice is not pushed around by the last email, the cheapest quote, or the prettiest sample photo.
Finally, ask who owns each approval. A project with one accountable owner for sample review, one owner for final content or artwork, and one owner for delivery sign-off usually moves faster than a project where every decision is shared loosely across a team. Clear ownership reduces delays and makes the finished result easier to judge.