
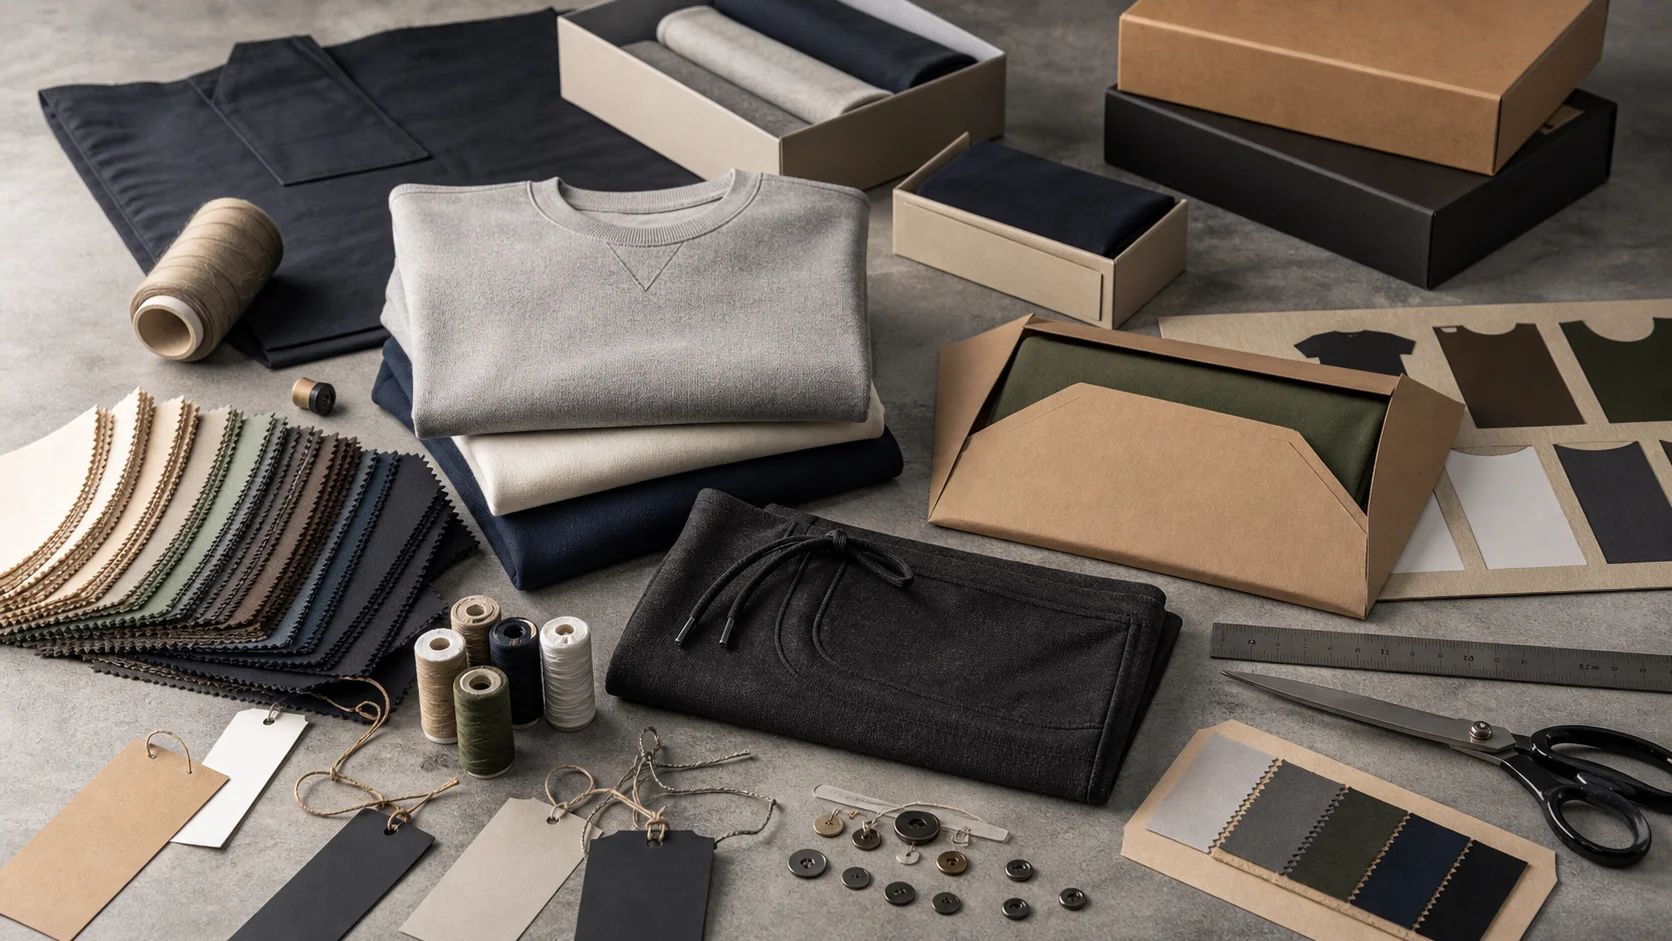
Apparel Insert QA Checklist with checks for samples, fit, MOQ, QC evidence, pricing terms, and delivery risk.
Fast answer: Apparel Insert QA Checklist: Message, Size, Paper, and Unboxing Impact should be judged by production evidence, not by a generic sourcing promise. The buyer needs sample proof, cost breakdowns, QC checkpoints, and delivery buffers in writing.
Ask for recent sample photos, measurement tolerances, fabric or print test assumptions, decoration test notes, packing examples, and a named inspection checkpoint. These details show whether the team can repeat an approved sample at bulk volume.
Separate garment cost, decoration, labels, packaging, sampling, testing, freight, and rush charges. When every cost line is visible, it becomes easier to reduce colorways, adjust size depth, or reserve more time for sampling.
The first thing a customer touches can quietly decide whether your product feels premium or merely packed. Packaging presentation influences repeat purchase intent for 55% of shoppers, and I’ve watched that number play out on factory floors, where a $0.18 insert can make an $18 tee feel considered or careless. So how to design branded unboxing inserts is never just a decorative question. It is a sales question, a damage question, and a brand question.
In Guangzhou’s Baiyun district, packaging houses running Bobst die-cutters and Heidelberg Speedmaster 102 presses keep WRAP and BSCI audits on file because luxury buyers demand proof the workers on the line see fair pay and safe conditions. In Dhaka, the same diligence applies when a 400 gsm folder is foil-stamped for lingerie clients; those factories usually show WRAP reports alongside OEKO-TEX Standard 100 lab testing to prove the inks and adhesives are skin-safe.
In Ho Chi Minh City and northern Portugal, packaging managers rarely start with “delight.” Compression, scuffing, and a 120 gsm card shifting inside a box after 14 days in a freight container are the real conversation. Beauty brands use the insert to protect fragile glass. Apparel brands use it to frame the garment and keep tissue from wrinkling. Electronics teams use it to stop cords from tangling and accessories from rattling loose.
Same insert, different story. A matte, 350 gsm uncoated card with crisp die lines feels disciplined inside a $120 cashmere sweater. Put that card in a $14 accessory bundle with sloppy registration, and it reads like an afterthought. Price won’t save weak production discipline. Finish, stock weight, and print alignment do. Istanbul finishing houses that run UV LED curing ovens and rotary screen machines know this; they often double-check that the hot foil stamping falls exactly on the 2 mm die cut edge, not across the raw seam.
I’ve seen premium brands optimize for a mockup and ignore the shipment. Gorgeous on a table, but in transit the glue tabs failed, the corners curled, and ink transferred onto tissue. One cosmetics client had a 3% damage rate in samples and a 9% damage rate in bulk because the insert collapsed by 2 mm after humidity exposure. The factory in Guangzhou had consistent humidity between 55-65%, but the bonded GOTS-certified cotton batting inside the insert swelled and deformed once the carton crossed to a coastal port. PDF approval means nothing if packed carton reality disagrees.
According to WTO data, packaging and logistics costs are tightly linked to product protection choices. Strong inserts reduce returns. Weak inserts increase claims. Plain math. That’s why I track GRS-certified recycled fiber ratios and demand third-party verification every quarter when clients scale insert programs across Guangzhou, Dhaka, Ho Chi Minh City, and Istanbul plants.
Measure the product first, then build the cavity around real behavior, not the size on the tech pack. How to design branded unboxing inserts starts with dimensions, sure, but it can’t stop there. I ask for length, width, depth, weight, and center of gravity. A 280 g serum bottle behaves differently from a 280 g knit sweater. One tips. The other compresses.
Clearance matters. Rigid products usually need 1.5-3 mm tolerance on each side. Softer goods can live with 5-10 mm only if the fold structure controls movement. Thickness matters too. A 2 mm paperboard tray can support light cosmetics, while a 1.2 mm molded pulp shell may need ribs or double walls for heavier items above 450 g. Friction matters more than people think. Satin-lined sleeves hold jewelry securely; the same finish may let a phone charger slide during transit.
I break inserts into formats by category. Apparel often works with belly bands, folded cards, tissue wraps, and slim paperboard trays. Cosmetics usually need insert cards, molded pulp nests, or compartment trays with a 4-6 mm wall. Jewelry benefits from small boxes, fabric-covered pads, and sleeves that prevent abrasion. Tech packages often need trays, cable folds, and sleeves that separate components into 2-4 zones.
For a $12 T-shirt, a printed belly band and tissue wrap are usually enough. For a $90 lingerie set, I’ve seen a 350 gsm card sleeve paired with a 120 gsm tissue inner wrap lift perceived value without adding much cost. That’s why custom bra manufacturing clients often invest in firmer inserts; intimate apparel needs presentation and shape control in the same move. By contrast, a $220 wireless headphone set often justifies a molded pulp tray because the accessories, charging case, and printed manual need fixed positions.
The thing nobody tells you: an oversized insert can increase damage. I’ve watched brands widen a cavity by 8-12 mm to “make unboxing easier,” then discover the product shifted more, scratched more, and arrived looking less premium than the tighter, simpler layout.
That’s the counterintuitive part. Bigger is not safer. Simpler can be smarter. A clean die-cut tray with fewer moving parts often beats an elaborate multi-piece insert, especially in long-haul freight where vibration runs for 18-24 hours at a time.
Material choice sets the tone before copy does. Recycled paperboard with 60-100% post-consumer fiber is the workhorse for good reason: it prints cleanly, folds fast, and usually recycles in existing municipal streams. Molded pulp adds a lower-plastic profile and strong shock absorption. Fabric inserts, often used in jewelry or premium intimates, feel rich but can complicate end-of-life sorting if they are glued to foam or synthetics. Plastic still has a place for precision, but I treat it as the last option unless moisture or optical clarity truly demands it.
On sustainability metrics, I look at recycled content, recyclability, compostability, and ink choice together. Soy or water-based inks reduce solvent load. Heavy lamination can block recycling. Foil stamping may look expensive, but it can also create mixed-material waste that raises defect rates. According to Textile Exchange, buyers are under real pressure to document material inputs and preferred fibers, and that pressure now extends beyond garments into packaging choices. For formal compliance language, many brands also review OEKO-TEX standards when evaluating inks, trims, and textile-adjacent components.
Pushing for GOTS certification on the cotton batting used inside a padded insert matters when a brand markets the feeling as “organic.” I’ve run prototypes on lamination lines in Ho Chi Minh City that bond 80% GOTS-certified organic cotton fiber to a 300 gsm kraft board core using ultrasonic welding machines that leave no solvent residue. Suppliers in Istanbul and Guangzhou often cross-check that the factories that produce the paperboard also hold GRS certificates so the recycled fibers trace all the way back to a verified supply chain.
Price tiers shift by region. In Guangzhou or Ho Chi Minh City, paperboard labor can be lower, but freight for bulky inserts may add 12-18% to landed cost. In Portugal, Istanbul, or Dhaka, unit labor may run 15-25% higher, yet shorter transit and smaller minimums can offset the gap on a 3,000-piece order. For a brand ordering 500 pieces, tooling and setup dominate. For 20,000 pieces, freight, warehousing, and defect rates matter more than a 2-cent difference in board stock. Brands sourcing from a supplier or factory should compare landed cost, not just unit price.
Premium finishes help only when they earn their keep. Soft-touch coating can feel elegant, but it may scuff in 2-3 weeks if packed tightly. A matte aqueous finish on 400 gsm paperboard often outperforms a thick lamination because it stays easier to recycle and less prone to fingerprinting. I’ve watched brands spend $0.28 extra per insert on foil and velvet coating, then discover the added value was invisible after the outer mailer was opened.
Simple stock often wins. The few factories that consistently produce clean luxury inserts rely on tight tolerances, accurate die cutting, and restrained print layers, not a pile of embellishments. That’s especially true for private label clothing, where inserts need to survive folding, bagging, and repeated handling without bleeding color or warping at the crease. For wholesale and bulk programs, consistency matters as much as creativity.
Printing decides whether the insert feels branded or merely processed. How to design branded unboxing inserts well means building the message stack in this order: thank-you note, care instruction, reorder prompt, sustainability claim, support contact. If all five lines compete for attention, none of them land. The best inserts use 18-28 words for the main message and leave the rest to a QR code or a support URL.
Copy must match intent. A first-time buyer wants reassurance: how to wash, how to return, how to contact support in 24 hours. A repeat customer wants speed: reorder, register, scan, save. For a beauty brand, the QR can lead to routine steps or ingredient explanations, and we route those codes through Istanbul-based fulfillment hubs that update the landing page based on the SKU scanned.
Press selection matters. Heidelberg Speedmaster offset lines deliver crisp solids for a 500-unit run, while Roland VersaUV printers can add tactile varnish or spot gloss for low-volume, high-impact pieces. On the finishing floor, a Bobst master-cutter handles creasing, then a Müller Martini hot foil station aligns logos to within ±0.2 mm, ensuring the glossy section doesn’t misregister when the box closes. Inline quality sensors measure ink density live; anything off by more than 3 ΔE gets pulled for rework before carton packing.
QR content should be short and measurable. Tie the scan to a unique URL with UTM tracking and a promise: “Scan in 18 seconds to unlock care tips and a surprise coupon.” Close that loop with a thank-you email triggered in 18-22 business days after the shipment docks; those metrics tell you if the insert earned a second interaction. If the code hits the shelf but no one scans, the problem is either placement, contrast, or the call to action.
Costs can be deceiving if you ignore MOQ, setup, and transit. For a standard 300 gsm paperboard insert with two color sides, expect $2.50-4.00 per unit at 500 MOQ when you source from Guangzhou or Ho Chi Minh City after tooling and die costs. Factor in 18-22 business days from approval to finished cartons in the warehouse if the supplier uses domestic paperboard mills, a full press run, die cutting on a Bobst machine, and freight via the Shenzhen port. The same insert produced in Istanbul or Dhaka with custom foil or fabric inlays will push unit cost to $3.80-5.20, but the lead time can drop to 12-16 business days if air freight is part of the plan.
Tooling is also a big chunk. A new steel rule die for a multi-part insert hits $250-$420 depending on complexity. Pantone matching with UV coating can add $0.12-0.18 per piece. If you’re running a molded pulp nest with PLA lamination, expect the tooling to approach $580 and the per-unit cost to start at $3.60, mainly because the forming machine needs a continuous 720 rpm run.
Shipping choice changes the math. Bulk inserts moving by sea from Guangzhou to Los Angeles carry a 12-15 day sea leg plus 4 days inland, so plan buffer. Smaller, urgent runs from Dhaka or Istanbul might air-freight at $0.55-$0.65 per piece, which is costly but sometimes necessary to hit seasonal windows. Always layer in a 5-8% scrap rate for the first production round; misaligned foils, slight creases, or ink streaks happen even in the best factories.
QC starts on day one. I ask for checklists from the supplier that include incoming material inspection (verify GOTS and OEKO-TEX Standard 100 claims), in-line die-cut tolerance (±0.3 mm by default), ink density readings, and adhesive strength tests. A coordinate measuring machine (CMM) can confirm cavity depths, while pull tests on adhesives must sustain 700 g of force before failure; anything lower means the insert might collapse when the carton is squeezed.
During press runs, I request first article samples from Guangzhou, Ho Chi Minh City, or Dhaka, then push them through drop tests (1.5 m height) and humidity cycling (40-80% RH over 48 hours) to catch swelling issues before tens of thousands ship. If a supplier claims GRS certification for the recycled pulp, I want to see the mass balance report and the third-party auditor’s stamp, not just a PDF badge. The same goes for WRAP or BSCI: the factory should share an active audit with no open non-conformances.
Before packing, have the line leader sign off on alignments and ink coverage. Use a handheld colorimeter for the core brand color and keep a record for every lot. If you’re blending fabrics and pulp, include tensile strength and seam integrity tests so the insert doesn’t split when customers pull out the garment. Lastly, run a 100-unit pull for the insertion process itself—sticking the insert inside a 220 mm box, sealing, and then running the carton through the shrink tunnel or bagging station ensures the final packaging line won’t slow down when the real volume hits.
Step 1: Assemble a one-page insert brief. Include finished goods dimensions, weight, materials (e.g., 350 gsm recyclable board with matte aqueous coating and a 40 gsm GOTS-certified cotton wrap), finish codes, and QR content file. Attach vector dielines, preferred Pantones, and a simple tolerance table.
Step 2: Send the brief to shortlisted factories in Guangzhou, Dhaka, Ho Chi Minh City, and Istanbul, asking for quotes that specify cost per unit at 500 and 2,500 MOQs, the exact machine they plan to run (e.g., Bobst ExpertCut 106 with hydraulic creaser), and lead time. Request confirmation of certifications: WRAP, BSCI, GOTS, OEKO-TEX Standard 100, GRS, and any other relevant environmental reports.
Step 3: Review proofs. Expect a digital mockup within 48 hours and a physical sample in 7-10 business days. Validate the sample with your quality team and use calibrated lighting for color checks. Once approved, lock the production window and confirm that the timeline includes shipping (18-22 business days for sea freight from Asia to North America, 12-14 for Europe).
Step 4: Coordinate logistics. Book freight early, especially if you need a synchronized drop with apparel shipments. Share your packing list, include insert count per carton, and schedule an inspection (pre-shipment or on-site) to cross-check adhesives, finishes, and print accuracy.
Q: How much should I budget per insert? A: For a standard two-sided, matte-finish board insert, budget $2.50-4.00 per unit at a 500 MOQ when sourcing from Guangzhou or Ho Chi Minh City. Add $0.12-0.25 for spot UV or foil, and expect $0.15 extra if you need a fabric overlay or padded cushion.
Q: Which certifications matter for inserts? A: Focus on WRAP/BSCI for labor practices, OEKO-TEX Standard 100 for inks and textile-adjacent components, GOTS for any organic cotton or fiber content, and GRS for recycled fiber traceability. Ask for documentation with every order.
Q: How long does production take? A: Plan for 18-22 business days from proof approval to finished inventory in the warehouse if you’re shipping sea freight from Guangzhou or Dhaka. Istanbul and European suppliers can cut that to 12-16 days if air freight or shorter land routes are used.
Q: What machines should the factory use? A: Ideally, you want a certified Bobst die-cutter, a Heidelberg Speedmaster offset press or Roland VersaUV for short runs, and ultrasonic welding or hot foil units for complex finishes. That combination keeps tolerances tight and finishes repeatable.
Q: How do I prevent insert damage during shipping? A: Build in 1.5-3 mm tolerance for rigid goods and 5-10 mm for soft items with strong fold structure, use friction aides like satin-lined sleeves, and ticket test with humidity cycles before finalizing the design. Simple is often safer than elaborate multi-piece systems.