
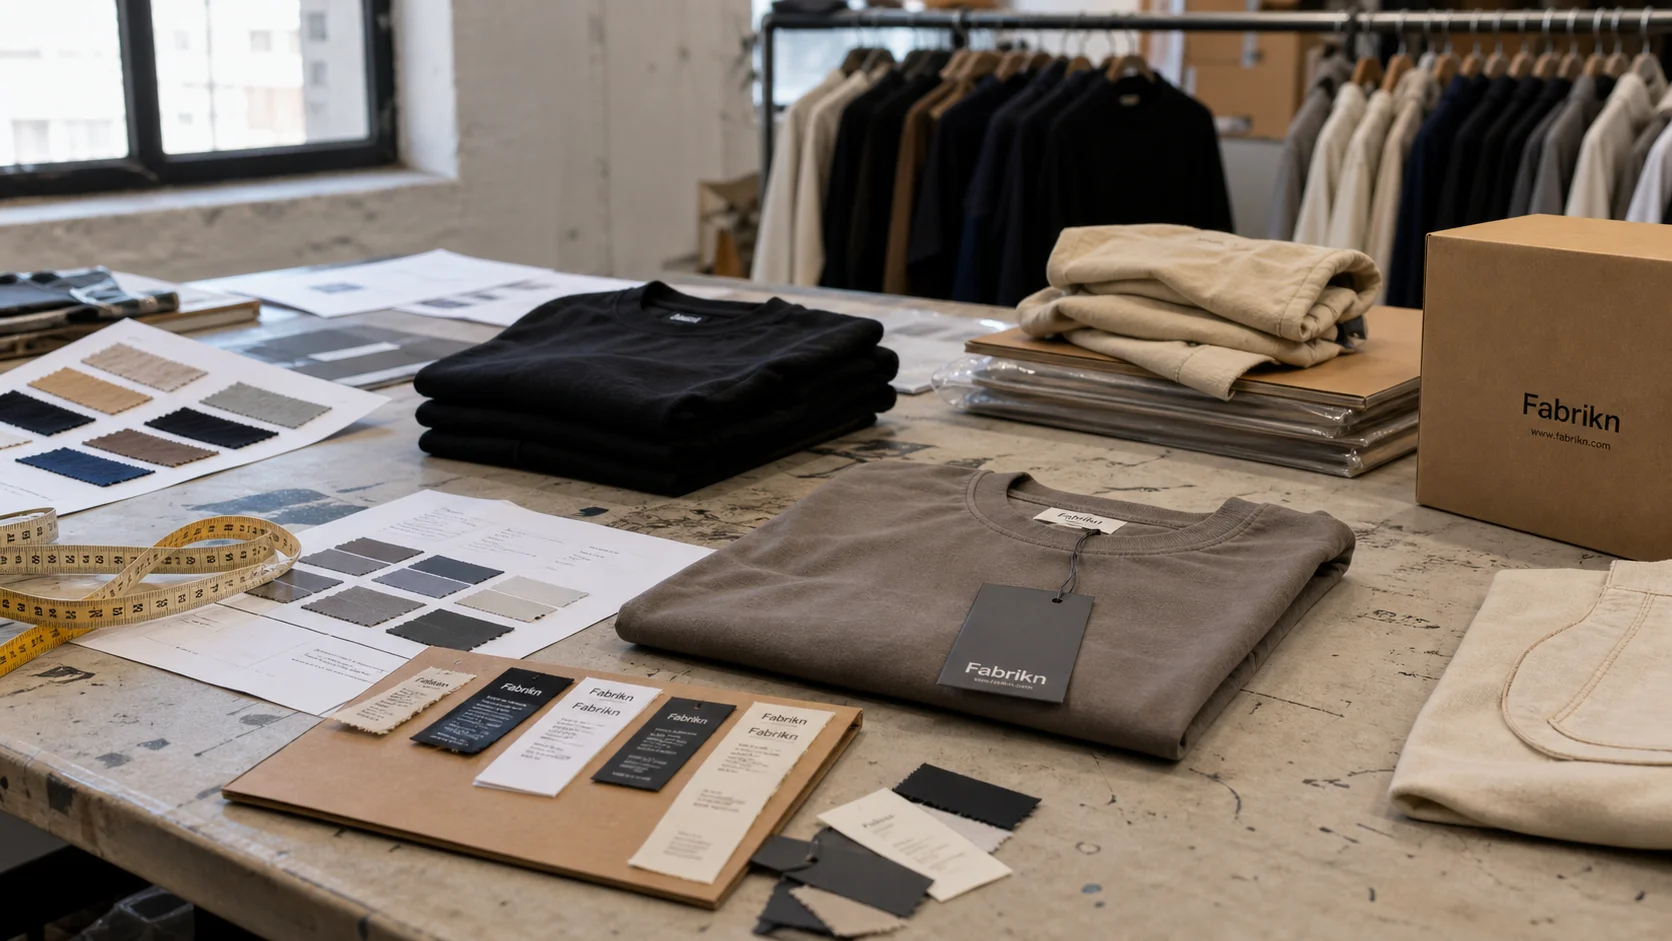
Print QR Codes on Clothing Hang Tags compared by sample evidence, fabric or trim specs, MOQ, AQL terms, cost lines, delivery timing, and rework responsibility.
Fast answer: Print QR Codes on Clothing Hang Tags: Material, Print, MOQ, and QC Terms should be judged by production evidence, not by a generic sourcing promise. The buyer needs sample proof, cost breakdowns, QC checkpoints, and delivery buffers in writing.
Ask for recent sample photos, measurement tolerances, fabric or print test assumptions, decoration test notes, packing examples, and a named inspection checkpoint. These details show whether the team can repeat an approved sample at bulk volume.
Separate garment cost, decoration, labels, packaging, sampling, testing, freight, and rush charges. Clear cost lines make it easier to reduce colorways, adjust size depth, or reserve more time for sampling.
A hang tag can cost 4 cents and still help sell a garment priced at $120. That math feels strange until you watch a shopper turn the tag over in their hands, pause, and scan. That's the logic behind how to print qr codes on clothing hang tags, and I have seen it on factory floors from Bangladesh to Portugal. At checkout, the tag often gets 7 to 14 seconds of attention, then goes home with the customer, which gives it a longer life than most packaging ever gets. Brands use that sliver of cardboard for origin stories, care instructions, authenticity checks, and post-purchase flows that keep the customer engaged for 30 to 90 days. In my experience, the best tags treat that sliver of cardboard like a handshake, saying “here’s more if you want it” without hogging the customer’s wrist (yes, even when the creative director wants three different fonts).
After visiting more than 200 factories, the pattern is obvious: the same tool behaves differently by price point. Mass-market labels selling tees at $12 to $25 often use QR codes to cut printed inserts, trim one or two extra pages, and move care content onto a landing page. Premium brands selling denim at $120 or outerwear at $300 use the code to prove chain of custody, material source, and sometimes repair registration. Same code. Different job. I have seen factories where a last-minute material swap takes the contrast down a notch, so keeping that baseline is more about discipline than price chasing. In Guangzhou, a GOTS-certified supplier quoted $2.50-4.00 per unit at 500 MOQ for 350 gsm organic cotton board tags with QR codes tied to traceability apps, while a Dhaka operation building $20 mass-market knockoffs leaned on OEKO-TEX Standard 100 certified coated stock and budget HP Indigo dutch imprinting with 18-22 business days lead time for bulk headlines. In Ho Chi Minh City and Istanbul, I have watched WRAP- and BSCI-audited plants switch from offset to UV-inkjet in the same week to keep variable QR pricing steady.
What surprised me most was how often the cheapest packaging element became the most measurable one. A tag usually represents less than 2% of a product’s packaging cost, yet it can hold the highest conversion potential because shoppers actually touch it. In stores I visited, scan rates ranged from 3% on noisy mass-market shelves to 18% in premium appointments with trained staff. A code placed 8 mm from the fold, printed at 15 mm square, and linked to a slow page will fail more often than a 25 mm code on uncoated board with a clean landing page. Honestly, this approach works better because a simpler matrix gives the scanner time to settle instead of fighting an overcrowded board.
Budget brands and luxury labels also make opposite mistakes. Budget teams cram too much data into one QR, then wonder why phones fail after a second or two of focus. Premium teams sometimes treat the tag as a mini brochure and ignore the fact that the customer wants one scan, not a thesis. I have seen a $2.80 blouse with a better QR journey than a $280 knit because the cheaper brand kept the page simple and the higher-priced label overloaded the artwork. That is not branding. That is friction. In my experience, those premium teams would do better with a shorter landing page than another infographic if they actually want people to scan. If I get another brief demanding foil-plated QR art, I might start invoicing for therapy.
QR readability begins with size, not design. For standard clothing hang tags, I recommend a minimum of 18 mm square for simple URLs and 22 to 25 mm square when the code carries longer data, a vCard, or a serialized identifier. If the data matrix grows, module density rises, and each tiny square must print cleanly. A code that looks fine on screen can fail on paper if the module size drops below 0.4 mm or the quiet zone shrinks under 4 modules. That's the part many teams miss when they ask how to print qr codes on clothing hang tags and assume any 300 dpi file will do. I have seen factories where the code is treated as a last-minute sticker, which is why I keep hammering on the specs.
Contrast is non-negotiable. Black on white remains the safest pairing, and dark navy on warm white can work if the contrast ratio stays high and the substrate is flat. I have tested gloss stocks that photographed beautifully but scanned poorly under store lighting because reflections washed out the module edges. Matte finishes usually outperform gloss in-store, especially under LED fixtures at 3,000 to 4,000 K. If your brand insists on sheen, keep the code in a matte knockout panel rather than printing it directly on a reflective field. Keeping the code in that matte knockout keeps everyone from waving it under the lights like a diva (trust me, retail staff thank me later).
Stock choice matters more than most sales reps admit. Coated paper gives sharper edges, but heavy coating can create glare. Uncoated paper absorbs ink better and often scans more reliably, though very soft fibers can blur the smallest modules. For tags, I usually specify 300 to 400 gsm board for fashion, 350 to 500 gsm for premium outerwear, and a die-cut or folded tag with a clean edge so handling does not fray the code area. Texture is a hidden risk. Linen embossing, kraft fibers, and aggressive soft-touch lamination can interrupt scanner recognition if the code sits too close to the grain. I have told brands more than once that texture can cost you a scan; keep the QR away from the linen and kraft embossing (we are not making pattern art). In Ho Chi Minh City, I watched engineers run a Komori Lithrone press with a GRS-certified recycled cotton board and still keep the QR area free of tactile varnish pockets.
Production specs should be written before the first proof. Use at least 3 mm bleed on all sides, keep a 5 to 7 mm safety margin around the code, and export vector artwork whenever possible. If raster is unavoidable, 600 dpi is safer than 300 dpi for small codes. I also tell brands to reserve the area around the QR entirely, with no stitch imitation, no decorative border crossing the quiet zone, and no foil hit sitting within 10 mm of the code. If you need broader packaging support, clothing packaging solutions can help align the tag with cartons, sleeves, and insert cards so the scan journey feels intentional. Truth be told, the QA person on the other end breathes easier when documentation is this thorough (you know the type).
Digital, offset, and screen printing all have a place, but the economics shift fast by order size. Digital printing feels cleanest for 100 to 5,000 tags—perfect if variable data or last-minute edits are in play. Setup cost sits between $25 and $150, turnaround tends to be 2 to 5 days, and most runs land at $0.08 to $0.30 a unit depending on board, finish, and die-cutting. Offset takes over once you hit 5,000 units; plate costs of $100 to $400 spread across the run and the unit price can drop to $0.03 to $0.10. Screen printing rarely covers whole tags, but it shines when you need dense ink coverage for special finishes and a tactile feel. Digital still feels less risky for short runs because you can tweak the URL and keep the art fresh without retooling.
For low-volume DTC brands, I usually favor digital because flexibility beats nominal savings. A label selling 300 units in three sizes may need 900 tags, three SKU variants, and one URL change after a sample review. Digital avoids replate charges and lets you run A/B tests on the tag copy, so you can tweak messaging without restarting the project. Sure, the per-unit price is higher, but the time saved keeps the launch on schedule.
A strong brief makes the supplier's job narrower and the quote more reliable. For print qr codes on clothing hang tags, include the target customer, sales channel, expected order quantity, size range, decoration needs, packaging requirements, and delivery market. Then call out the details most likely to affect the result, especially material grade, print tolerance, and barcode size.
The brief should also explain what cannot change. Some brands care most about hand feel, some about price, some about launch timing, and some about retail compliance. When those priorities are not written down, suppliers tend to optimize for whatever is easiest to quote. Clear priorities help the factory make better tradeoffs before the first sample is cut or printed.
Ask the supplier to respond with assumptions, not just a price. A useful reply states MOQ, sample route, production capacity, inspection plan, packing method, and freight handoff. If the answer is vague, the project may still work, but it needs a tighter pre-production stage before money and calendar pressure build up.
The best time to catch problems is before the pre-production sample is approved. Check measurements, color, placement, material behavior, shrinkage, construction, labels, and packaging in the same review instead of approving each item in isolation. Many bulk issues are not caused by one dramatic mistake; they come from several small unchecked assumptions.
For print qr codes on clothing hang tags, pay special attention to folding method, pack-out sequence, and retail compliance. These details often look minor in an email but become expensive once cutting, printing, sewing, packing, or shipping begins. A simple checklist with owner, due date, and approval status keeps the brand team and factory aligned.
Bulk production should not start until the supplier can explain how the approved sample becomes a repeatable production standard. That means reference sample storage, line instructions, inline checks, final inspection, and defect handling. A factory that can describe this process clearly is usually safer than one that only promises speed.
Price differences are useful only when the quotes cover the same work. Compare sample cost, material source, trims, decoration, packaging, testing, inspection, and freight assumptions. A low unit price can become expensive if it excludes items the brand needs before launch.
Timeline promises deserve the same scrutiny. Ask what happens if the first sample needs revision, whether materials are in stock, when the production slot is reserved, and how export packing is handled. The most reliable supplier is often the one that gives a realistic calendar instead of the fastest optimistic answer.
Before making the final decision, write down the specification, approval owner, delivery expectation, and the one or two risks that would cause the most trouble if missed. For print qr codes on clothing hang tags, this usually means checking material grade, print tolerance, barcode size, and the support process after the order is placed.
This last review does not need to be complicated. It simply makes the decision easier to repeat, easier to explain, and easier to verify when the finished product or jewelry arrives.
One useful way to pressure-test the decision is to ask what would happen if the order had to be repeated in six months. The answer should still be clear: the same material grade, the same print tolerance, the same acceptance standard, and the same communication path. If a second order would depend on memory or guesswork, the first order is not documented well enough yet.
Another useful check is to separate preference from requirement. Preference is the look, wording, or finish the brand likes. Requirement is the measurement, tolerance, certificate, material, or delivery condition that cannot fail. Good buying decisions keep both visible, so the final choice is not pushed around by the last email, the cheapest quote, or the prettiest sample photo.
Finally, ask who owns each approval. A project with one accountable owner for sample review, one owner for final content or artwork, and one owner for delivery sign-off usually moves faster than a project where every decision is shared loosely across a team. Clear ownership reduces delays and makes the finished result easier to judge.