
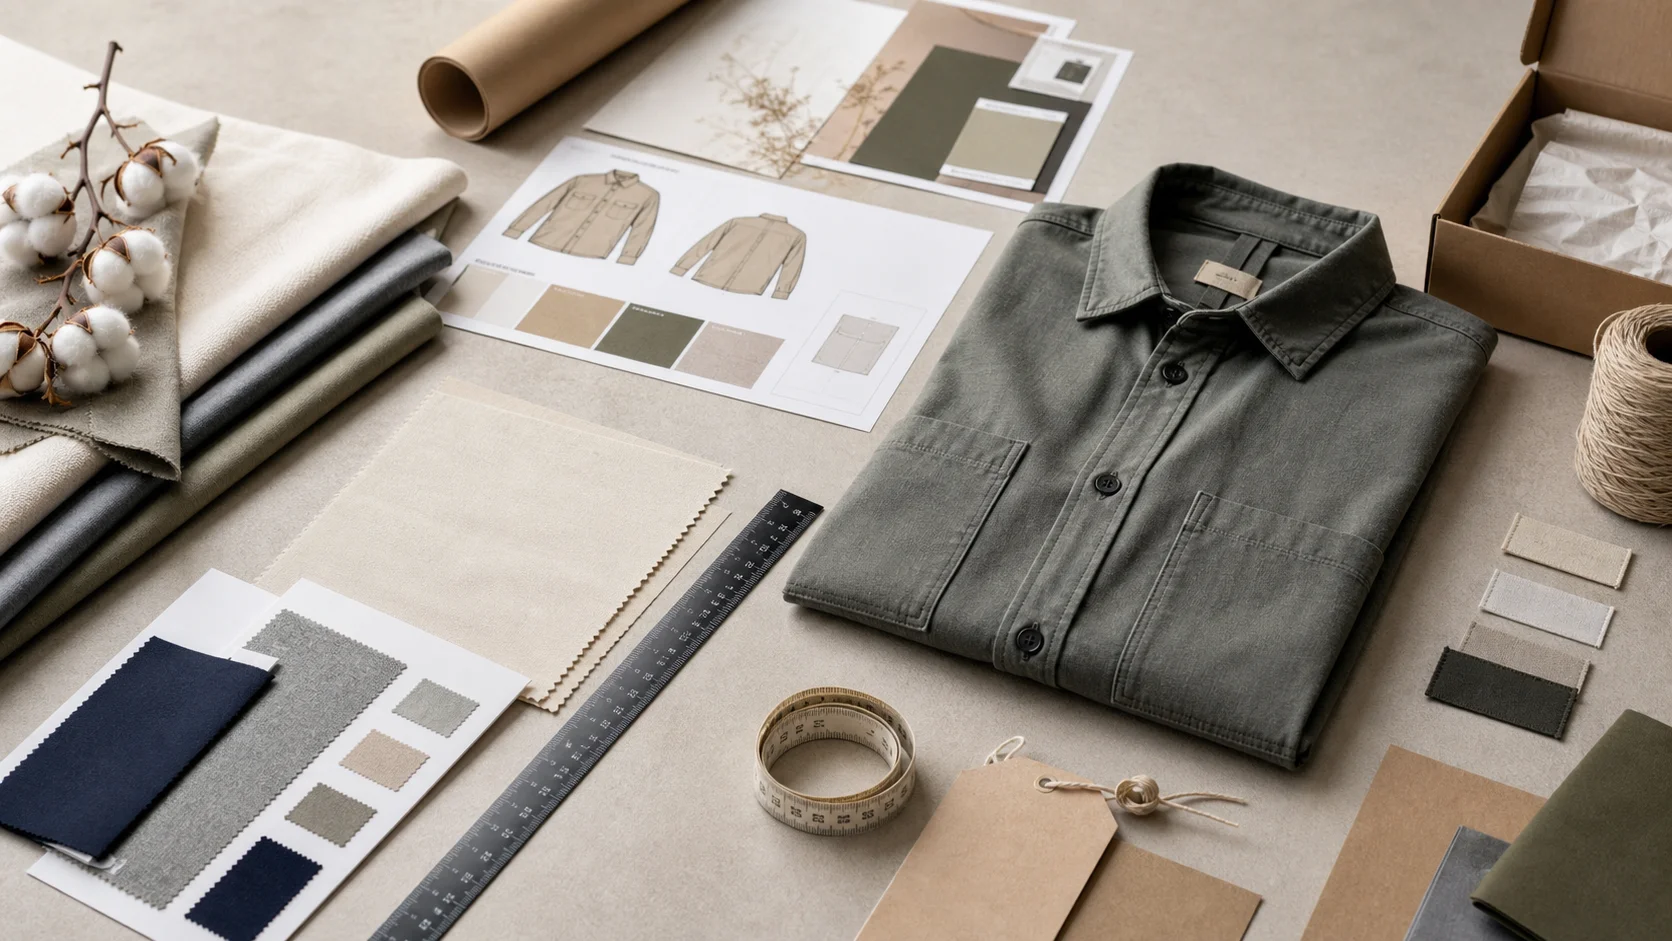
Print Logo on Apparel Boxes compared by sample evidence, fabric or trim specs, MOQ, AQL terms, cost lines, delivery timing, and rework responsibility.
Fast answer: Print Logo on Apparel Boxes: Tech Pack, Sample Gate, MOQ, and QC Terms should be judged by production evidence, not by a generic sourcing promise. The buyer needs sample proof, cost breakdowns, QC checkpoints, and delivery buffers in writing.
Ask for recent sample photos, measurement tolerances, fabric or print test assumptions, decoration test notes, packing examples, and a named inspection checkpoint. These details show whether the team can repeat an approved sample at bulk volume.
Separate garment cost, decoration, labels, packaging, sampling, testing, freight, and rush charges. Clear cost lines make it easier to reduce colorways, adjust size depth, or reserve more time for sampling.
A box has about three seconds to make a customer believe what the garment already knows about itself. In how to print logo on apparel boxes, that is the real starting point: the package is not a wrapper, it is the first sales pitch. A crisp, square, branded box can make a $12 T-shirt feel like a $28 purchase. A plain mailer rarely gets that kind of reaction.
Identical hoodies can sit in three price tiers without any meaningful change to fabric or construction. The mass-market brand used a one-color corrugated mailer at roughly $0.42-0.68 per unit. The premium line moved to a two-color folding carton at $0.95-1.40. The luxury label used a rigid box with foil at $2.80-4.50. The difference was not just the garment. It was the opening ritual.
On a shelf, the logo has seconds to earn its keep. E-commerce gives you a longer runway, but the box still has to survive 3-4 handling points, courier compression, and often 1.5-2.0 kg of mixed parcel load on top of it. In store, the mark has to read from 1.5 meters away. Online, it has to photograph cleanly under cold LEDs and phone flash. Same box, different test.
In my experience, DTC brands tend to overprint and wholesale brands tend to underprint. Both miss the middle ground. A clean logo on a well-sized panel, usually 40-70% of the visible face area, performs better than a crowded box covered in copy, badges, and gradients. Packaging is not decoration. It is a conversion asset with freight, storage, and damage implications attached.
When I visited box plants in Vietnam, Turkey, and Portugal, the pattern was consistent: the most expensive boxes were not always the best-performing boxes. A $3.10 rigid box with poor die alignment looked worse than a $1.05 folding carton with sharp registration and a solid matte coat. One factory showed me 5,000 units with slight color drift. The paperboard cost was high, but the brand perception dropped because the logo shifted by about 1 mm on each face.
The thing nobody tells you: a cheaper board with better registration often outsells an expensive box with weak print control. I have seen recycled kraft at $0.55 beat coated white board at $1.20 because the ink sat cleaner and the contrast felt intentional.
According to ASTM, print and packaging testing is only meaningful when the material, ink, and handling conditions are defined clearly. For traceability and responsible sourcing, brands also review standards from Textile Exchange and OEKO-TEX. That is why I treat logo printing as a branding, cost, and operations decision. A decorative add-on wastes money; a controlled production spec protects margin.
There are three core ways brands approach how to print logo on apparel boxes: offset for scale, flexographic or digital for shorter runs, and finishing methods such as foil stamping or embossing when the brief needs a premium touch. Each method has a different MOQ, setup burden, and tolerance for color variation. The wrong choice usually shows up as cost creep before it shows up as visible quality loss.
Offset is the default for 3,000-50,000 units and often lowers unit costs once the plates are made. I usually see plate and prep fees from $180-600 per design, with per-unit pricing falling into the $0.20-0.60 range depending on box size and board grade. It handles consistent branding well, especially on folding cartons and printed sleeves. The trade-off is setup time. Expect 7-12 days before the first clean proof, and more if the artwork has multiple spot colors.
Offset shines when the brand needs repeatability across seasons. It is less friendly to very small test launches or rapidly changing capsule drops. On coated paperboard, it produces tight edges and strong solids. On absorbent recycled stock, the same artwork can look muted unless the ink density is adjusted.
Flexo works well for corrugated apparel mailers and high-volume shipping boxes where speed matters more than photo-level detail. I have seen MOQs as low as 500 pieces, though 1,000-2,500 is more common for stable pricing. Digital printing is the fastest route for 100-1,000 unit tests, with no plate fees in many cases and turnaround often 3-6 days after final artwork approval. The unit price can run $0.90-2.50, but the entry cost is manageable.
Digital is also useful for launches with frequent artwork changes, localized campaigns, or private label packing tests. If you are building a product line and need private label clothing services to match packaging to garment labeling, digital lets you align the outer box with the rest of the brand system without waiting for long lead times.
Foil stamping, embossing, debossing, and spot UV all add tactile value. They also add cost fast. Foil often adds $0.08-0.35 per unit at scale, embossing can add $0.05-0.25, and spot UV ranges from $0.06-0.20 depending on coverage. Used well, these finishes signal restraint. Used badly, they look like a discount gift box trying too hard.
Substrate matters here. Fine detail on rough kraft stock can blur. Heavy coverage on uncoated board can feather. A coated surface usually sharpens the logo, but it can also create glare that flattens the perceived depth of foil. In one Italian plant, I saw a luxury knitwear box lose its elegance because the emboss was too deep and the foil too mirror-like. The brand had paid for drama. It got flash instead.
For brands producing graphic apparel with high color consistency, I often pair packaging decisions with textile print work, especially if they already use sublimation printing services on the garment side. The more disciplined the color system, the better the box performs in the customer’s hand.
If you want a sharp logo, start with the file, not the factory. Vector artwork in AI, EPS, or PDF format is the standard. Raster images should be at least 300 dpi at final size, and anything with thin serif text or hairline rules needs extra caution. In buyer language, that means your artwork must survive shrinking, folding, and press conversion without turning muddy.
When I review box proofs, the first mistakes are always predictable: the dieline is off by 2-4 mm, the safe zone is ignored, or the logo sits too close to a fold. On a 4-panel mailer, that can ruin the front face. A clean spec should define the exact print area, the fold lines, and the bleed. Bleed usually needs 3 mm, sometimes 5 mm for larger cartons.
Thin strokes are another trap. A 0.25 pt line can disappear after die-cutting and coating. Black logos on kraft board can turn muddy because the ink spread 10-15% more than expected. A white ink underbase or a shifted Pantone can save the design, but only if the factory knows the board absorbency in advance.
Pantone spot color matching is stronger for brand consistency, especially if the same logo appears on boxes, hangtags, and shipping inserts. CMYK works well for photos and gradients, but it can drift by 5-7 Delta E across different board coatings. That sounds technical because it is. It also matters because a 5% shift on a full production run of 20,000 boxes becomes visible to customers who compare old and new shipments side by side.
I prefer Pantone for logos with one or two saturated colors, then CMYK only if the design needs gradients or lifestyle imagery. According to AATCC, color evaluation should always be judged under consistent viewing conditions, not just on a screen. Screen approvals lie. Press proofs tell the truth.
A press proof should show the final layout at actual size, not “close enough.” If the logo edge sits too near the cut line, a 1 mm shift can expose paper fiber or clip the mark. Coating changes the result too. Gloss varnish deepens black, matte varnish softens it, and soft-touch coating can reduce contrast by making the logo appear 5-10% darker. White board reflects more light. Black board demands stronger coverage. Recycled board absorbs more ink and usually needs a richer formulation.
Here is the standard I use: approve a digital proof, then a hard proof, then a press proof on the chosen substrate. Never skip the substrate stage. One sample on white SBS does not predict performance on kraft or corrugated board. It predicts almost nothing.
The cost of logo printing is not one number. It is setup, structure, finish, run length, freight, and rejection rate. For buyers asking how to print logo on apparel boxes on a real budget, the honest answer is that unit cost falls fast only after the fixed fees are absorbed. A 250-piece order can look expensive at $1.80-4.00 per box. A 10,000-piece order may drop to $0.35-1.10, depending on complexity.
For domestic short-run production, I often see $0.95-2.75 per printed mailer at 250-1,000 units, with setup fees from $75-250. Offshore high-volume sourcing changes the math. A 5,000-20,000 unit run can land at $0.22-0.85 per box, but you must add freight, duties, and a longer 21-45 day transit window. The cheapest unit price is not always the lowest landed cost.
Brands with 2-3 seasonal drops a year sometimes overspend by ordering too many variants. I have seen three box sizes, two logo placements, and four finish combinations turn a simple packaging line into a procurement headache. One size, one print method, one finish is usually enough.
Setup fees eat small orders alive. Offset plates, die lines, and emboss dies can cost $120-900 depending on complexity. A custom box structure adds another layer, especially if the box needs a unique tuck, locking base, or sleeve. For a one-color logo on a standard folding carton, the print cost may be 20-30% of the total. For a rigid box with custom insert, the print is often the smallest part of the invoice.
Here are the cost traps I see most often: oversized print areas that use more ink without adding clarity, repeated sample revisions because the brief was vague, and too many finishes layered together. Foil plus emboss plus spot UV on a small box can add $0.35-1.20 per unit very quickly. That may be justified for a $180 cashmere piece. It is wasteful for a $24 tee.
If the apparel production itself needs controlled trim, labeling, and packaging coordination, I often advise buyers to align with cut and sew manufacturing before locking the box spec. It keeps the packaging budget honest and prevents a mismatch between garment value and carton spend.
Structure changes print behavior. A rigid box holds shape and feels premium, but it costs more to make, ship, and store. Corrugated mailers protect better in transit and are the workhorse for DTC apparel. Folding cartons are light, stack well, and suit retail or secondary packaging. The right answer depends on shipment method, apparel category, and how much damage risk you can tolerate across 1,000 or 10,000 units.
Rigid boxes are common for luxury shirts, scarves, and limited-edition capsules. They usually start around $1.80-5.00 per unit before premium finishes. Corrugated mailers range from $0.35-1.20 for printed versions, depending on flute grade and print method. Folding cartons are often the cheapest printed option, at $0.18-0.75 in higher quantities. Each one communicates a different promise. Rigid says gift. Corrugated says practical. Folding carton says efficient, controlled, and scalable.
Coated white board gives the sharpest logo edges and strongest color saturation. Recycled board can be slightly rougher, but it often performs well for matte branding and muted palettes. Kraft stock is the favorite for earthy labels, minimalist labels, and brands that want a raw, less manufactured feel. The counterintuitive part is this: recycled and kraft boards can make some logos look more premium than glossy white board when paired with the right ink choice and restrained layout. A black logo on warm kraft often feels more expensive than the same mark on bright white because it reads as deliberate, not generic.
Varnish, aqueous coating, soft-touch lamination, and gloss lamination each change durability and tone. Soft-touch can feel luxurious, but it fingerprints faster. Gloss resists scuffs better, but it can make low-contrast logos harder to read. For athletic apparel and high-rotation retail, I lean toward coated corrugated with a matte finish. For occasionwear, rigid plus a subtle emboss can justify the extra $1.50-3.00 in packaging cost.
Material choice should follow the garment. A 320 GSM French terry hoodie does not need the same box as a lightweight viscose tee. The box should match the category, not inflate it beyond reason. If you are buying from a factory in China, ask the supplier which board grades they stock locally and how they control print consistency across wholesale and bulk orders.
The first sample tells you almost everything, if you know where to look. I inspect logo placement, color tone, fold memory, corner crush, and coating consistency. I also check whether the box closes cleanly after being opened 10 times. A nice-looking sample that fails after folding is not a good sample. It is a future complaint.
Look for misregistration between colors, cracking on score lines, foil that scratches with a thumbnail, and weak adhesion on coated surfaces. If the sample uses a spot varnish, check whether the gloss line overlaps the logo edge by 1-2 mm. Small shifts here predict larger defects later. For transit, I ask for drop tests and compression checks on at least 12 units, not just one showpiece sample.
Ask the supplier which press they use, what their tolerances are, and how often they run defect checks. I want a target misregistration tolerance under 0.5 mm for premium work and under 1.0 mm for standard cartons. If they cannot tell you their ink system, that is a problem. If they cannot show a recent defect rate, that is a bigger problem. In one factory, the production manager quoted a signed proof as “final approval,” yet the line still needed a pre-run calibration to hold the logo steady across 8,000 boxes.
Ask these directly: What is the maximum color deviation across the run? How many sample revisions are included, usually 2 or 3? What happens if the coating causes ink lift? Which board grades do you stock locally, 300 GSM, 350 GSM, or E-flute? The answers reveal whether the supplier has a process or just a press. A reliable manufacturer and factory should be able to explain their quality controls without hesitation, especially when you are ordering custom printed packaging at wholesale or bulk scale.
The fastest path from idea to production is a clean brief. If you want accurate quotes for how to print logo on apparel boxes, start by defining the box dimensions, board type, artwork file, finish, target quantity, destination country, and delivery deadline. A vague brief creates vague pricing. Vague pricing becomes a bad purchase order.
I put every buyer through the same discipline: length, width, height, board spec, print coverage, Pantone codes, inner or outer print, packaging method, and carton count per shipper. Include whether the order is 500 units, 2,000 units, or 10,000 units. Include whether the box will be nested flat or assembled. If the supplier has to guess, they will pad the price by 10-20% to protect themselves.
Ask for itemized quotes. The line should separate unit cost, setup fee, plates, dies, sample fee, and freight. One supplier may quote $0.68 per box with no setup. Another may quote $0.42 per box plus $210 in prep. Those are not the same deal. They are only comparable when landed cost is calculated on the same 1,000-unit or 5,000-unit basis.
A realistic schedule usually looks like this: 2-4 days for artwork prep, 3-7 days for digital or hard sampling, 7-14 days for production, and 5-30 days for shipping depending on origin. Delays most often happen at artwork approval and sample sign-off. If you need speed, ask whether rush production is possible, then accept that freight may cost 15-40% more.
Before I issue a purchase order, I want a signed proof, a defect tolerance statement, a delivery window, and confirmation of the print method. If those four things are missing, the order is not ready. request custom apparel packaging support only after the brief is complete. That saves days, sometimes weeks. For suppliers, trade documentation guidance from trade.gov can also help when shipping across borders.
Buyers usually ask the same five questions before they place an order. The answers are rarely glamorous. They are technical, priced in numbers, and useful.
Small runs of 250-1,000 units usually cost $0.95-2.75 per box domestically, plus setup fees of $75-250. Larger offshore orders can fall to $0.22-0.85 per box, excluding freight and duties.
Digital jobs can move in 3-6 days after approval. Offset and premium finish orders usually take 7-14 days for production, with shipping adding 5-30 days depending on origin.
Use vector artwork, confirm Pantone codes, and approve a press proof on the actual board. Color can shift by 5-7 Delta E if the coating or substrate changes.
Yes. Kraft often works best with simple, high-contrast logos in one color. Dark, detailed designs can muddy unless the ink density and layout are adjusted for absorbency.
Corrugated mailers suit shipping, folding cartons suit retail, and rigid boxes suit premium presentations. For most apparel brands, 500-5,000 unit runs balance cost and durability best. Choose the box that fits the garment, then print it cleanly.